In the treacherous realms of Baldur’s Gate 3, where every decision can lead to untimely demise, mastering the art of survival is essential. Whether you’re navigating perilous traps or engaging in fierce combat, knowing how to minimize your character’s chances of death can mean the difference between victory and a frustrating restart. This guide unveils practical strategies to keep your party alive, from avoiding unnecessary battles to effectively managing health and utilizing game mechanics. Prepare to enhance your gameplay and reduce those fatal encounters as you embark on your epic adventure!
Peacefully ending conversations and avoiding combat
In Baldur’s Gate 3, players can effectively end conversations and avoid combat by utilizing negotiation tactics that emphasize dialogue over violence. Engaging in discussions with enemies can lead to peaceful resolutions, allowing players to leverage skills like persuasion or intimidation to convince foes to surrender rather than fight. This approach not only conserves resources but also aligns with role-playing strategies that favor non-lethal outcomes. Players can capitalize on incapacitating enemies, creating opportunities for dialogue where they can assert their strength or negotiate terms, thereby fostering a gameplay experience that values strategy and character development over mere combat. By prioritizing communication, adventurers can navigate conflicts more gracefully, enhancing their overall experience in the game.

- Not all battles in the game are mandatory. Be especially wary of difficult encounters against groups or elite foes. Give precise orders and respond accordingly to powerful attacks.
- The main way to avoid combat is by sneaking around and looking for alternate paths. You can sneak past enemies or completely bypass them. You can also sneak around in order to ambush an enemy, gaining an early advantage.
- Many battles can be avoided by choosing the right behavior and dialogue options during conversations. You can, for example, pass a skill check or convince the other person to accept your point of view. Many quests have peaceful routes bypassing all combat.
- Before starting each encounter, save the game andexamine the enemies. Try to learn their levels, health and unique traits (enemy sheet). In case you discover a weakness (such as vulnerability to fire), change up your equipment or spells.
Do not try to avoid every single encounter. Battles can reward you with XP and unique loot. Only engage those enemies you think your current team can beat.
Overworld traps
In Baldur’s Gate 3, navigating the Overworld is fraught with peril, particularly due to the numerous traps that can catch players off guard. These traps vary in type and lethality, from explosive devices to hidden pitfalls, all designed to challenge even the most seasoned adventurers. To survive these deadly contraptions, players must employ a combination of keen perception and strategic planning. Utilizing tools like the Trap Disarm Toolkit can help disable traps safely, while spells and environmental manipulation offer alternative methods for bypassing dangers. Players are encouraged to remain vigilant and explore their surroundings carefully, as a single misstep can lead to devastating consequences for the entire party.
- All traps inBG3are dangerous. Activated, they deal high damage and can inflict status effects, such as burning or poison. Most are also AoE, able to debuff or injure your entire party.
- Traps are mainly found in dungeons and near containers. Try to have at least one character with high Perception, as they’ll be able to locate some of the traps. Even a pop-up about a failed Perception check can serve as a warning.
- Save the game before you try to disarm a trap. Failing will trigger the trap AND waste the tools used.
You’ll find more tips on the page How to disarm traps?.
Low health
In Baldur’s Gate 3, managing your character’s health is crucial to surviving the myriad challenges of the game. When your health is low, you become vulnerable to enemy attacks, making it essential to employ strategies that help maintain or restore your vitality. Players can utilize healing spells, potions, and short rests to recover health during their adventures. Additionally, positioning during combat can minimize damage taken from foes, while careful planning of encounters can prevent unnecessary risks. By staying aware of your health status and employing these tactics, you can significantly reduce the frequency of your character’s untimely demise.
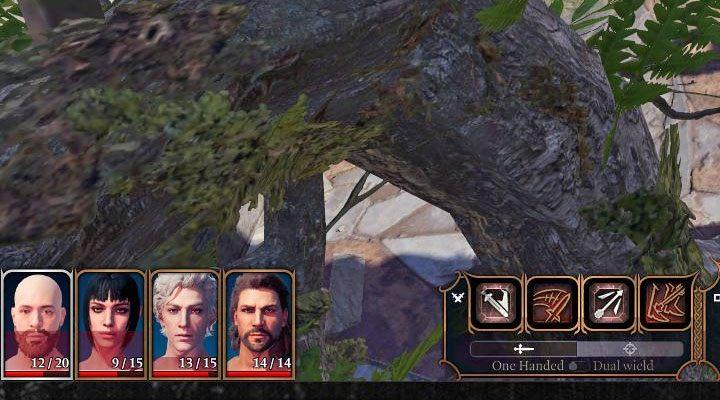
- Baldur’s Gate 3doesn’t feature automatic health regeneration by default. Some enemies hit very hard, often leaving your character with a sliver.
- Withdraw your heroes when they’re in danger and heal them, as soon as possible – in combat, preferably during the same turn. This will reduce the chances of them dying abruptly, for example, to a critical hit.
We’ve listed how to heal your characters on this page.
Recruiting Us, the Intellect Devourer, during the prologue
Recruiting Us, the Intellect Devourer, during the prologue can significantly ease your journey in Baldur’s Gate 3. While navigating the Nautiloid, players encounter Myrnath, a prisoner, which triggers a pivotal conversation with Us, a sentient brain. Successfully passing a skill check allows you to recruit Us without destroying it, providing valuable support in future encounters. The grove’s guardians can serve as effective distractions during this process, enabling players to focus on eliminating threats like goblins without jeopardizing their allies. This strategic recruitment not only enhances your party’s capabilities but also sets a favorable tone for the challenges ahead.
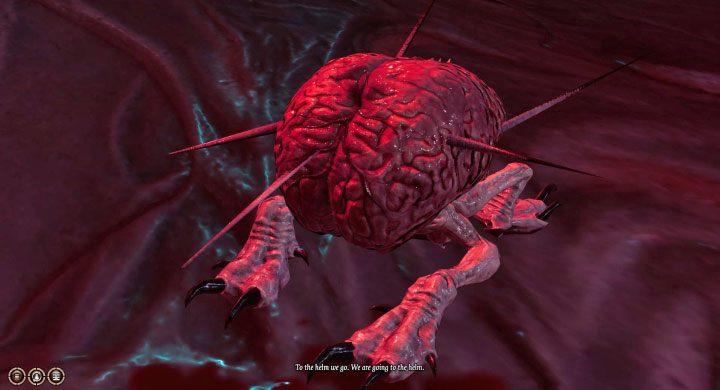
- The prologue of Baldur’s Gate 3 isn’t too challenging, but you can still make it easier. On board the Nautiloid you’ll find a prisoner named Myrnath, triggering a conversation with Us, a talking brain.
- Try to pass a skill check and remove the brain without destroying it. The Intellect Devourer can join the team for the prologue. Its presence will make the mandatory battles easier, such as the first one against the imps and the battle on the captain’s bridge. We’ve described the puzzle on how to recruit the Intellect Devourer on the Myrnath and the talking brain page.
During the prologue you can also recruit Laezel (automatically) and Shadowheart (free her from her capsule). Their presence will help you advance to Act 1.
Shadowheart in Act 1
Shadowheart is a compelling character introduced in Act 1 of Baldur’s Gate 3, serving as a potential companion for players. She is a half-elf cleric with a mysterious past, often found either unconscious on the beach or attempting to break through an ornate door, depending on the player’s choices in the prologue. Shadowheart’s unique abilities and her connection to the goddess Shar make her an intriguing addition to any party, providing healing and support while also bringing a darker narrative thread to the story. Engaging with her character can unlock deeper lore and enhance gameplay strategies, particularly in navigating the challenges that arise in the game’s early stages.
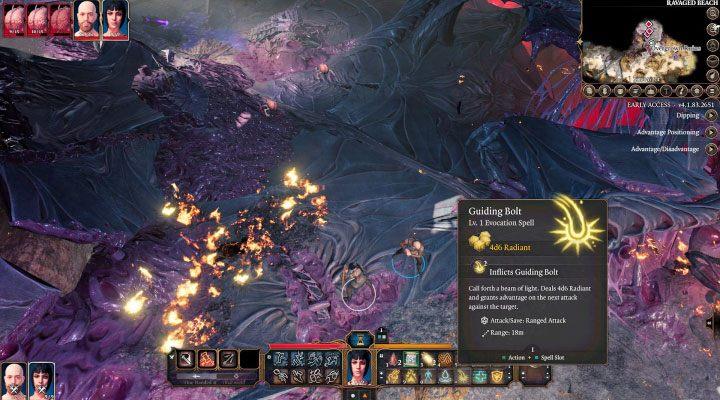
- The aforementioned Cleric, Shadowheart, can be freed in the prologue. Unlike Us, you’ll meet her again at the beginning of Act 1. She’ll be on the beach, or (if you haven’t saved her) in front of the Overgrown Ruins entrance. She’s easy to recruit – you can’t really mess up.
- Shadowheart will prove herself helpful immediately after, during the first battle against Intellect Devourers in Act 1. You’ll encounter them inside the Nautiloid wreckage to the northwest of the beach. Shadowheart has many abilities, such as ranged magical projectiles. All of them prove to be very effective.
There are many other recruitable companions in Act 1 too. We’ve listed them all on the All companions page. We advise you to gather a party of four as soon as possible.
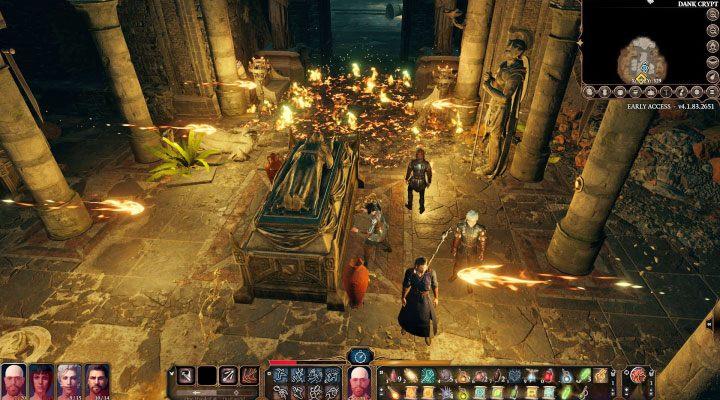
The battle in front of the Druid Grove
In The Battle in Front of the Druid Grove, players face a crucial confrontation against a horde of goblins threatening the peace of the grove. This encounter serves as an early test of strategy and teamwork, where players must utilize their character’s unique abilities and spells to turn the tide in their favor. Positioning is key; players can take advantage of the terrain and environmental features to gain an upper hand. Successfully navigating this battle not only provides valuable loot but also sets the stage for deeper alliances and story developments as players progress through Baldur’s Gate 3.
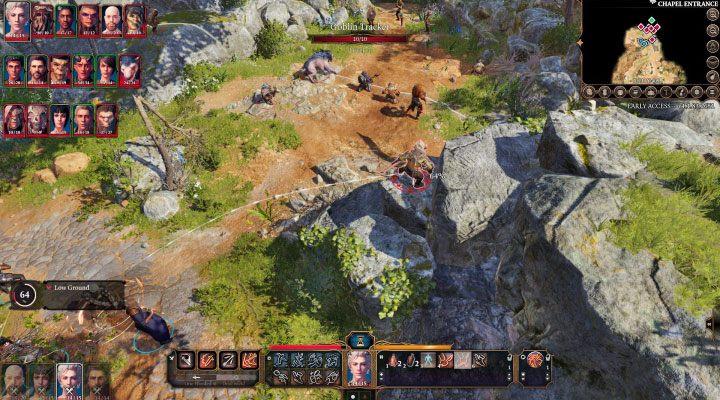
- The battle against the goblins in front of the Druid Grove is the most challenging encounter in the first hours of the game. You can theoretically bypass it by entering the grove through a secret passage, but it makes further gameplay unnecessarily more complicated.
- Fortunately, you’re not on your own during this fight. The grove’s guardians are your allies here, serving as effective distractions. We recommendattacking the goblins on the outskirts of the battlefield, especially taking down at least a single archer as soon as possible. You can also shove goblins off high ledges and jump to higher positions with your own characters.
- Try not to use AoE attacks and spells, as they can easily injure or kill the grove’s defenders. Though their deaths shouldn’t turn the people of the grove hostile, you won’t be able to interact with them later and it will weaken the grove’s defense as a whole.
What are the best strategies to avoid traps in Baldur’s Gate 3
To effectively avoid traps in Baldur’s Gate 3, players can utilize a variety of strategies that enhance their chances of survival while navigating the game’s perilous environments.
Detection and Awareness
- High Perception Characters: Equip your party with at least one character who has a high Perception stat. This will help in spotting traps before they can be triggered, as many traps are hidden and can cause significant damage if activated.
- Stealth Mode: Entering Stealth mode allows characters to actively search for traps, increasing the likelihood of detecting them before getting too close.
Creative Disarming Techniques
- Spells: Use spells like Minor Illusion or Dancing Lights to trigger traps from a safe distance. These spells can effectively activate traps without putting your characters at risk2.
- Physical Objects: Throwing barrels or heavy stones onto traps can destroy them without triggering their effects. This method is particularly useful for rogue-less parties who may not have the necessary tools to disarm traps directly.
Direct Damage and Sacrifice
- Attacking Traps: If you lack the tools to disarm a trap, consider using ranged attacks or damage spells from a distance. However, be cautious, as this will still activate the trap and could harm your party members.
- Summoned Creatures: Sacrificing a summoned creature to trigger a trap can be an effective strategy, allowing you to clear the way without risking your main party members2.
Preparation and Resource Management
- Stock Up on Trap Disarm Toolkits: Ensure your party is well-equipped with Trap Disarm Toolkits, which can be purchased from various vendors throughout the game. Having these on hand increases your chances of successfully disarming traps when necessary.
- Save Before Disarming: Always save your game before attempting to disarm a trap. Failure can lead to triggering the trap and wasting valuable resources.
By employing these strategies, players can navigate the treacherous landscapes of Baldur’s Gate 3 with greater confidence, minimizing their chances of falling victim to hidden dangers.
What are some creative ways to disable traps without using a Trap Disarm Toolkit
In Baldur’s Gate 3, players can creatively disable traps without relying on a Trap Disarm Toolkit. Here are some effective strategies:
1. Use Spells
- Minor Illusion: Cast this cantrip to trigger traps from a safe distance. For example, placing it over a vent can block noxious fumes, effectively neutralizing the trap without direct confrontation.
- Dancing Lights: Similar to Minor Illusion, this spell can be used to distract or trigger traps from afar, allowing you to avoid direct damage2.
2. Physical Objects
- Throwing Items: Use barrels, crates, or heavy stones to trigger traps safely. This method allows you to destroy traps without putting your characters at risk2.
- Covering Traps: Placing objects over traps can prevent them from being activated when your party passes through.
3. Direct Damage
- Ranged Attacks: If you’re feeling bold, you can use ranged spells or attacks to damage the trap itself. While this will still activate the trap, it may mitigate some of the damage if done correctly2.
4. Sacrificial Tactics
- Summoned Creatures: Sacrifice a summoned creature to trigger the trap. This method keeps your main party members safe while still clearing the path2.
5. Awareness and Avoidance
- Light Cantrip: Use the Light cantrip to illuminate dark areas and reveal hidden traps, helping you avoid them altogether.
- Perception Checks: Always have a character with high Perception scout ahead to identify traps before they can be triggered.
By employing these creative tactics, players can navigate through the dangerous environments of Baldur’s Gate 3 while minimizing their risk of triggering deadly traps.