In the depths of Midra’s Manse, a formidable challenge awaits in the form of Midra, Lord of Frenzied Flame, an optional yet formidable boss in Elden Ring’s Shadow of the Erdtree. Embodied by the maddening power of the Frenzied Flame, Midra unleashes a torrent of fire and madness, testing even the most seasoned Tarnished. To emerge victorious, one must master the art of dodging his infernal attacks and exploiting his weaknesses. Dive into this guide to uncover the strategies and secrets needed to conquer the Lord of Frenzied Flame and claim the coveted Remembrance of the Lord of Frenzied Flame.
Midra, Lord of Frenzied Flame is one of the bosses in the Shadow of the Erdtree expansion. You will face him in Midra’s Manse, a dungeon located at the end of the Abyssal Woods – a region in the south of the map, which you can reach by finding the secret exit from the Shadow Keep and passing through the Darklight Catacombs. on the south. This is one of the main bosses of the DLC, but fighting him is optional – you don’t have to defeat him to continue the DLC. On this page of the guide, we described how to fight the boss and what rewards you will receive for defeating her.
Rewards for defeating
Defeating Midra, Lord of Frenzied Flame, in the Shadow of the Erdtree DLC of Elden Ring rewards players with 410,000 Runes and the Remembrance of the Lord of Frenzied Flame. This Remembrance can be exchanged with Finger Reader Enia at Roundtable Hold for either the Greatsword of Damnation, a powerful Strength/Faith weapon, or Midra’s Flame of Frenzy, a potent incantation. Alternatively, the Remembrance can be consumed for a substantial amount of Runes, though trading it for one of the exclusive items is generally more beneficial.
[yt=YR@tdkGdTf2dSo]
For defeating the boss, you will receive 410,000 runes and the Remembrance of the Lord of Frenzied Flame, which you can exchange for:
- Greatsword of Damnation – great sword, deals partial holy damage,
- Midra’s Flame of Frenzy – an incantation that summons a huge fireball that spits Frenzy Flame until the player releases the spell button.
Midra in a nutshell
Midra, Lord of Frenzied Flame, is a formidable boss in the Shadow of the Erdtree DLC, located in Midra’s Manse within the Abyssal Woods. Initially, he appears harmless but transforms into a powerful adversary after a gruesome cutscene. To defeat him, you must first overcome his weaker form, which is relatively easy to stagger. The actual fight involves mastering a strategy to avoid his devastating attacks, particularly his ranged fire abilities. Staying close to Midra and circling him can help mitigate these threats. Defeating him rewards you with 410,000 runes and the Remembrance of the Lord of Frenzied Flame, which can be exchanged for valuable items like the Greatsword of Damnation and Midra’s Flame of Frenzy incantation.
- Before fighting Midra, you must defeat his weaker form – it’s a very simple opponent.
- The boss has a very simple set of moves, but a single mistake can kill you – so you need to know his attacks almost perfectly.
- Stay as close to the boss as possible – his melee attacks are simple and predictable, but his ranged attacks are extremely devastating.
- Try to circle Midra during the fight – some attacks, such as flame shots, can be avoided by moving to the side.
- After the sword attack, dodge towards the boss – Midra will stab you again in a moment, but the second stab deals holy damage that you cannot fully block.
- It’s easy to knock Midra down and expose him to a critical hit – use charged attacks, jump attacks and block counterattacks to knock him down more easily.
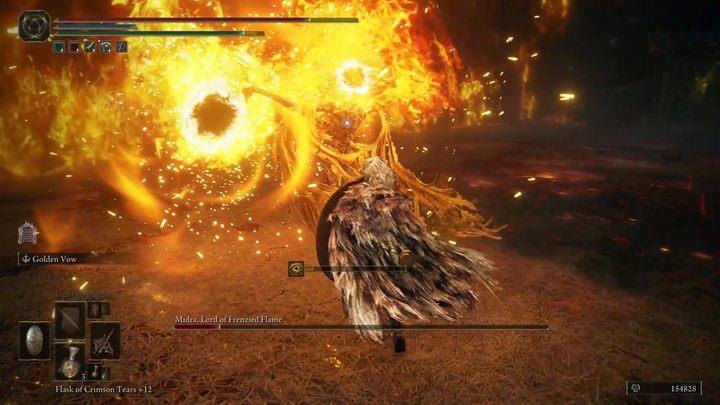
- Midra uses his most powerful attack when he has 2/3 and 1/3 of health left – when he rises and starts burning more intensely, run away from the boss by sprinting along the rectangular arena and dodge just before he hits the ground.
- In the second phase of the fight, look out for a grab attack – Midra will jump into the air and try to pin you to the ground with his sword and create an explosion. Dodge the sword and dodge again with a slight delay when Midra pulls the sword from the ground.
- Midra’s most dangerous attack in the second phase is a combination of five blows delivered with a flaming sword – dodge towards the boss to avoid the fire left on the ground by the blows. You must perform the last dodge with a delay.
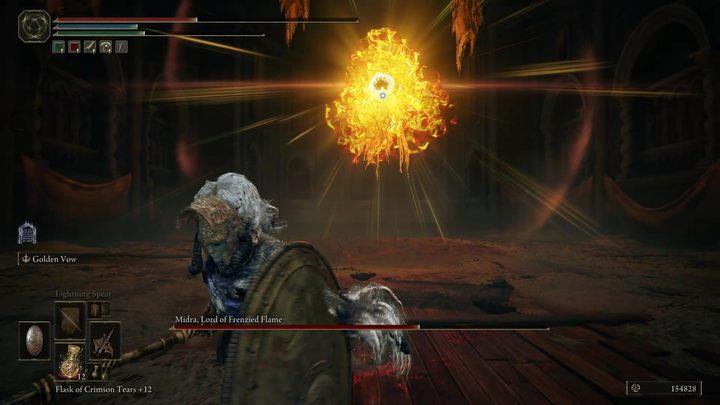
- When Midra summons a fireball, dodge shortly after the ball flashes to avoid the explosion – Midra is extremely exposed to your attacks after this sequence.
How to defeat Midra?
To defeat Midra, Lord of Frenzied Flame, in Elden Ring: Shadow of the Erdtree, it’s crucial to understand his attack patterns and exploit his weaknesses. Initially, you’ll face Midra in a wretch form, which you should quickly dispatch with rapid attacks. Once he transforms into the Lord of Frenzied Flame, stay close to him to minimize his use of frenzy attacks. Use a shield to block melee strikes or dodge them by rolling backward. Midra is weak to bleed effects, making weapons like the Moonveil or Uchigatana effective. Additionally, consider summoning a Spirit Ash to distract him and create openings for attacks. Ensure you have sufficient Scadutree Blessings to enhance your defenses against his madness-inducing attacks. By staying agile and capitalizing on his brief attack windows, you can successfully defeat Midra and claim the rewards, including 410,000 Runes and the Remembrance of the Lord of Frenzied Flame.
Before the actual boss fight, you must defeat Midra in his weaker form. The boss is pretty much harmless in this form and is easy to stagger. You should be careful though not to get grabbed (the boss jumps towards you with his arms outstretched) or stopped by the boss’s scream (you stop moving and start trembling). After defeating Midra, he will summon the power of Frenzied Flame, starting the actual fight.
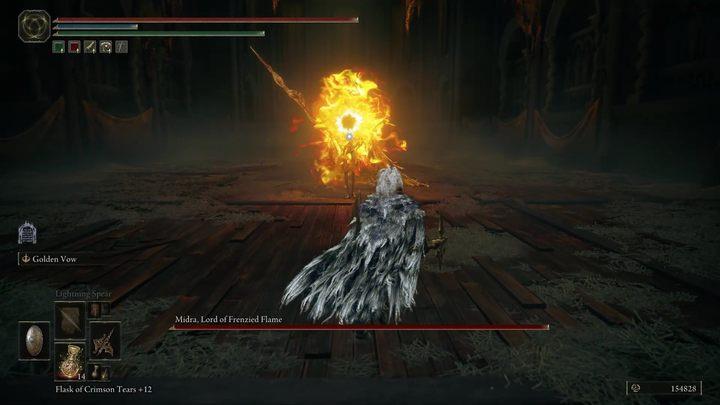
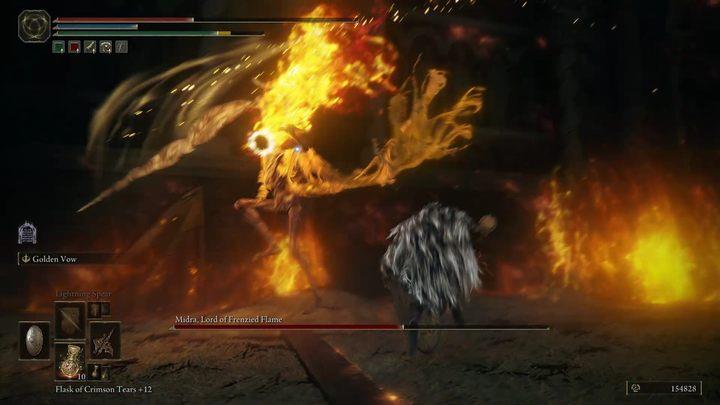
The fight against Midra is both very simple and demanding. The boss has a simple set of moves and is quite predictable – however, he has several attacks that deal enormous damage. The boss also has a lot of health, so you practically need to master your strategy, because a single mistake can kill you instantly. Midra usually starts the fight with a double fire shot, requiring two dodges – get close to him as quickly as possible.
During combat, try to stay close to Midra. His sword and knife attacks are easy to dodge and can be blocked. The fire attacks he uses when you are away from him are extremely dangerous because they deal a lot of damage and all of them have very short, almost identical animations, making them difficult to react to. One of them is, for example, a fiery laser that appears almost without warning. Stay close to your opponent and try to circle him during the fight – this way you can avoid the burst of fire he sometimes uses in his melee combos. Also, heal only between the boss’s attack sequences.
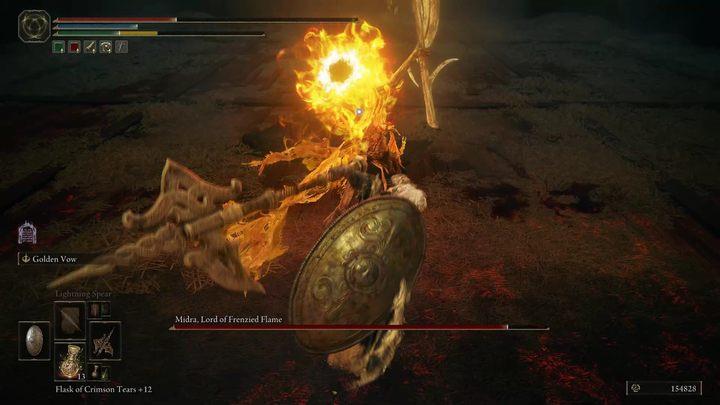
In the first phase of the fight, most of the boss’s melee attacks can be fully blocked by any shield with 100% physical damage reduction. However, be careful with the sword attack – Midra will immediately follow it with a second thrust, which deals holy damage. When the boss stabs you with his sword, dodge towards him and try to move to his side to avoid the holy light coming from the sword.
Midra’s biggest weakness is his short stature – it is quite easy to knock him down and expose him to a critical hit. This is why the boss will be easier to handle for characters using heavy weapons such as great swords, halberds, hammers or axes. Regardless of your weapon, it is worth focusing on attacks that break posture well – charged punches, jump attacks and block counterattacks.
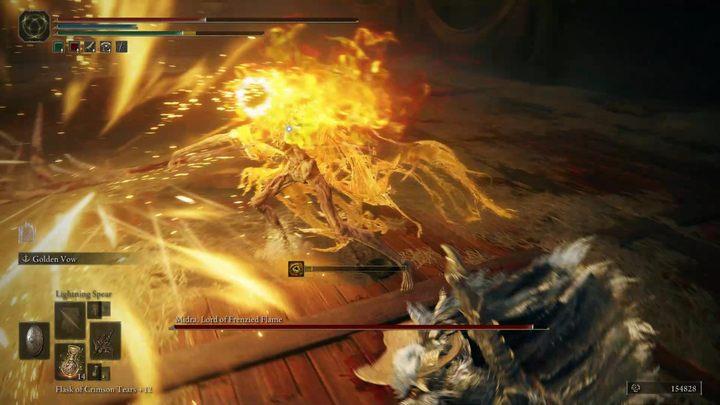
The second phase of the fight will begin when Midra’s health drops to approximately 2/3. The boss will rise into the air, start burning more intensely and hit the ground, creating a gigantic explosion that will probably kill you instantly if you are too close. Sprint along the rectangular arena and dodge when the boss falls – if you run across, you will quickly hit the wall and won’t get far enough away. After dodging, immediately approach the enemy again before he fires a ranged attack at you. Midra will use this attack again when he has about 1/3 of his health left.
In the second phase, Midra gains several new attacks. One of them is a grab attack – the boss will jump into the air and try to pin you to the ground with a stab from above. If he misses, his sword will dig into the ground, and when Midra pulls it out, it will cause a large explosion around him. You must dodge the sword and dodge a second time before the explosion when Midra tears the blade from the ground.
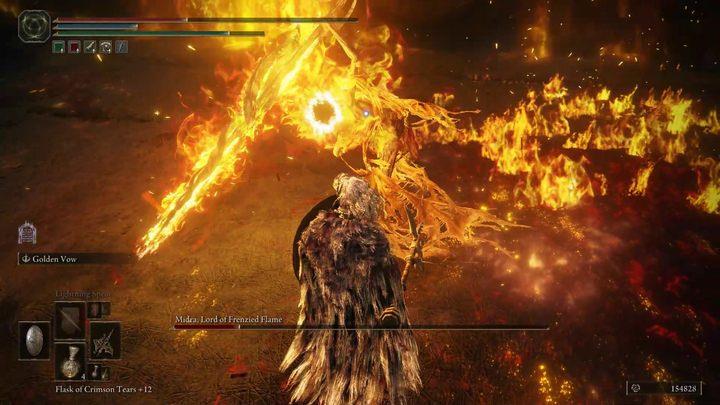
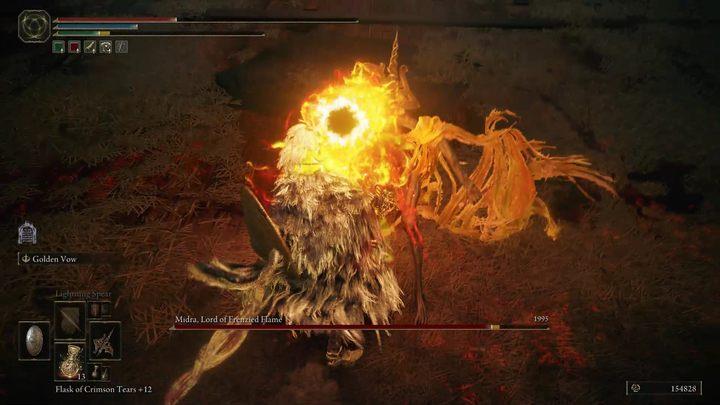
The flaming sword attacks are particularly dangerous – Midra combines them into combinations of two or five stabs. Each stab spreads fire on the ground in front of the boss – if you get hit by the blade, you may fall straight into the fire, taking double damage, which will likely kill you on the spot. Dodge towards the boss, trying to get to his side – this way you will avoid both the stabs and the fire. A two-slash combo ends with a spinning aerial slash, while a five-slash combo ends with a delayed punch – be ready to dodge with a delay.
It is also worth mentioning the fireball attack that Midra can summon in the second phase. The ball hovers next to the boss for a moment, flashes, and then explodes. You have to identify the right moment to dodge, very shortly after the ball flashes. If you manage to avoid the attack, you will have a few seconds to attack the boss freely, as Midra must recover after summoning the ball.
What are the best strategies to defeat Midra in his human form
Defeating Midra, Lord of Frenzied Flame, in his human form, also known as the Wailing Man, requires a swift and strategic approach. Here are some key strategies to help you overcome this initial phase:
-
Quickly Deplete Health: Focus on dealing as much damage as possible to the Wailing Man. He is significantly weaker than Midra’s true form, so aim to end this phase quickly to avoid his grab attack and madness AoE, which can cause significant damage and build up Madness.
-
Avoid Grab Attack: Be cautious of his grab attack, which can deal substantial damage. Keep moving and use quick attacks to keep him at bay.
-
Prepare for Transformation: Once you defeat the Wailing Man, there will be a brief window before Midra transforms into his true form. Use this time to drink the Flask of Wondrous Physick to extend your buffs for the upcoming fight.
By following these strategies, you can efficiently handle Midra’s human form and prepare yourself for the more challenging battle against his true form.
What are the key differences between Midra’s first and second phases
When facing Midra, Lord of Frenzied Flame, understanding the differences between his first and second phases is crucial for success. Here are the key differences:
First Phase
-
Basic Attacks: Midra uses a variety of melee attacks, including sword swings and thrusts, some of which may have follow-up effects like a wider hitbox or a spiky burst if he misses.
-
Frenzied Flame Spells: He unleashes single or long-range bursts of frenzy flames, which can be avoided by rolling into the burst as it starts.
-
Vulnerability: Midra is relatively easy to stagger with most weapons or spells during this phase.
Second Phase
-
New Attacks: At around 60% health, Midra enters the second phase, introducing new attacks such as a massive explosion where he floats into the air and dives into the ground.
-
Flame Augmented Attacks: Many of his sword attacks are now augmented with flames, contributing to Madness buildup.
-
Increased Difficulty: This phase includes more complex and high-damage attacks, such as a madness laser and a large frenzy bomb.
-
Enhanced Mobility: Midra may jump into the air and strike with his greatsword, requiring quick dodges to avoid.
Overall, the second phase is significantly more challenging due to the increased damage output and complexity of Midra’s attacks.