In the heart of Baldur’s Gate 3, players embark on a treacherous journey to uncover the secrets of Crèche Y’llek, a Githyanki stronghold hidden beneath the ruins of Rosymorn Monastery. As adventurers delve into this enigmatic location, they face not only formidable foes but also the weight of their choices that could alter the fate of their party. With intricate puzzles, hostile encounters, and the promise of powerful artifacts, the quest to navigate Crèche Y’llek is as perilous as it is rewarding. Will you unlock its mysteries, or will the shadows of the past consume you?
Mountain Pass
The Mountain Pass serves as a critical route in Baldur’s Gate 3, leading players from Act One to the ominous Shadow-Cursed Lands and ultimately to Moonrise Towers. Players can access this path after making pivotal choices regarding alliances with either the tieflings or goblins. Upon entering the Mountain Pass, adventurers will encounter various challenges, including hostile creatures and key characters like Goblins and cultists. This area not only introduces essential quests but also provides opportunities for loot and character development, making it a significant yet often overlooked part of the gameplay experience. As players navigate through, they must be prepared to confront the Shadow Curse that permeates the region, utilizing items like the Spider Lyre to mitigate its effects and ensure their survival.
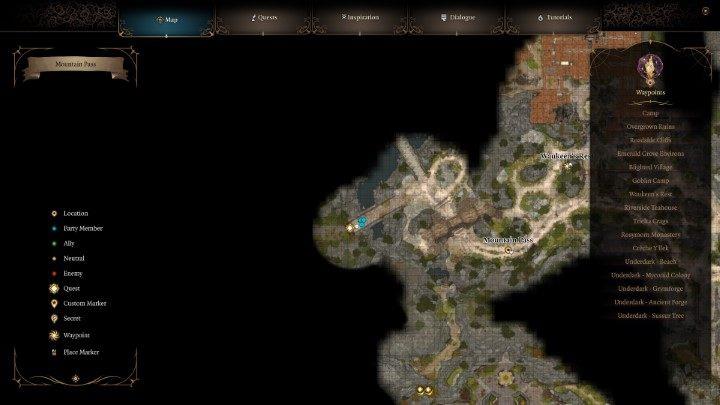
When the plot directs you to Crèche Y’llek, head to the north-western edge of the first map. Here you will find the passage that will take you to a completely new location – Mountain Pass.
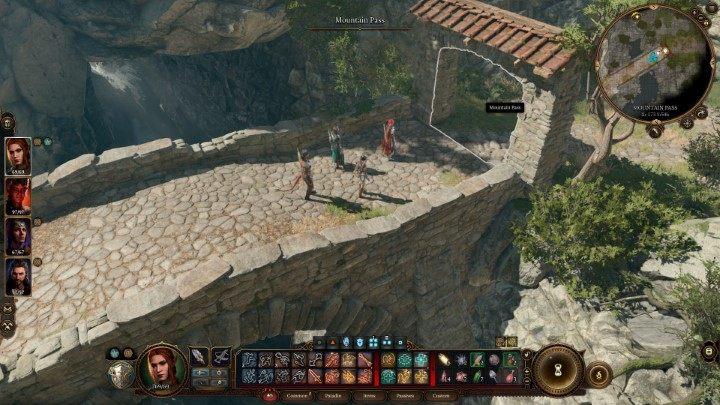
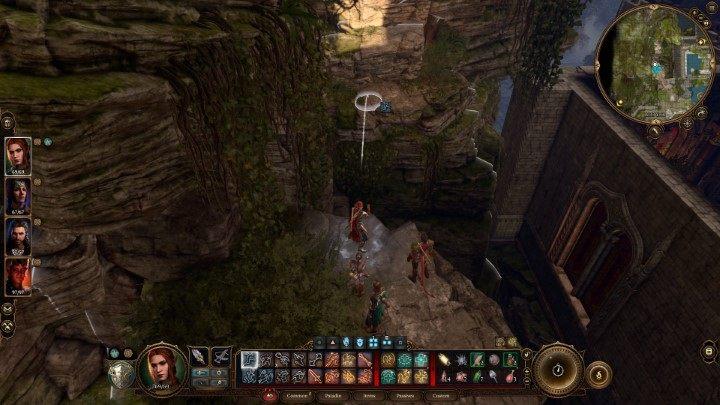
In the new location, follow the road leadingnorth. It will take you to a huge canyon.

The easiest way to get to the other side of the massive chasm is to use the cart suspended over the abyss. To activate the mechanism, however, you will need to pass a Strength skill check. If you fail, the alternative is to go around the canyon (the stairs leading to the path are to the right of the railway station). This route, although not as comfortable as the railway, will also help you to reach the other side.
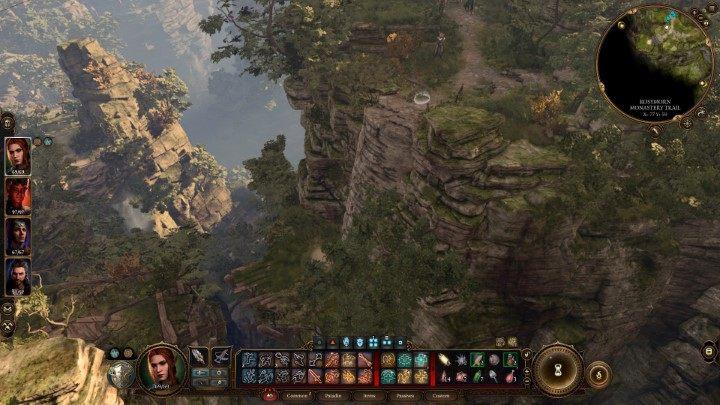
Once you get there, follow the path. In this way, you will reach the destroyed Rosymon Monastery.
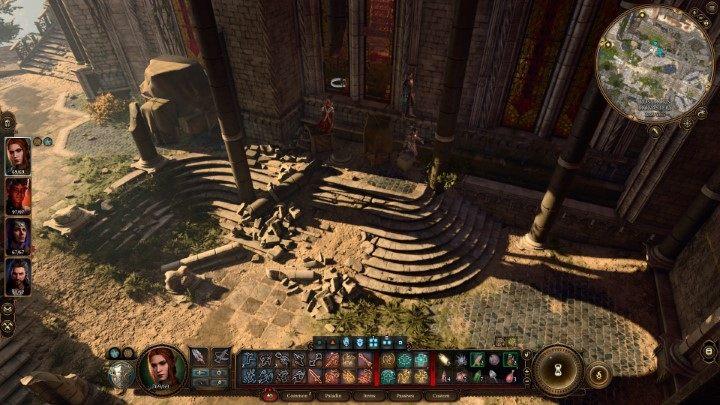
Rosymon Monastery
Rosymorn Monastery is a pivotal location in Baldur’s Gate 3, situated along the Rosymorn Monastery Trail in Act One. This ancient and overgrown structure serves as a backdrop for critical story developments and challenging encounters. Players will find themselves navigating through its dilapidated halls, facing off against various enemies, including Gremishkas and Kobolds, while unraveling a complex puzzle related to the legendary Blood of Lathander quest. The monastery not only offers opportunities for combat but also requires players to solve intricate puzzles involving ceremonial weapons to progress, making it an essential stop for those seeking to delve deeper into the game’s lore and challenges.
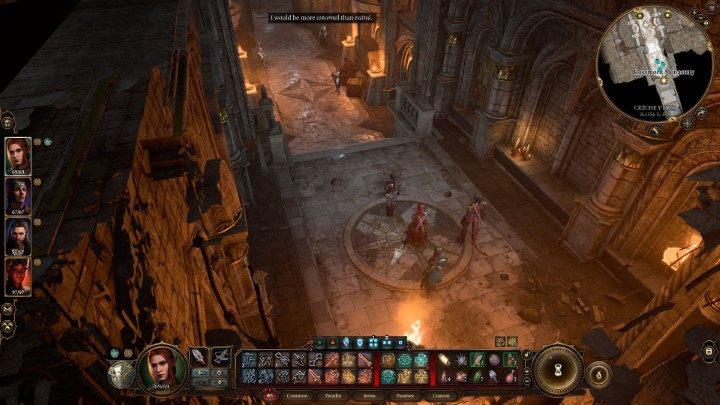
To enter the Crèche Y’llek, you will have to reach the Monastery’s basements. However, the gate to the building itself will be closed.
The way inside will turn out to be the broken windows to the left of the entrance. To get to them, however, you may have to move one of the nearby crates.
Optionally, you can also use the vines growing to the left of the broken windows. This choice will allow you to skip part of the property if you are not interested in it.
In a large room on the left side, you will fight a group of drunken Kobolds. The entire room is filled with barrels of flammable alcohol. By blowing them up, you can easily inflict heavy damage to your opponents.
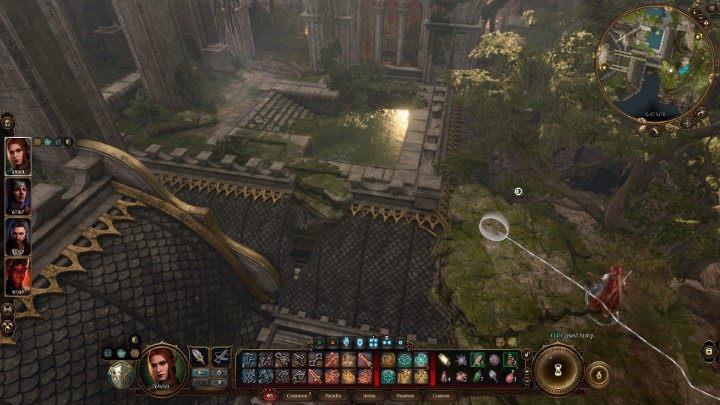
After the battle, exit the building through the hole in the wall, and then jump over the steep cliffs. The improvised path will lead you to the upper floors of the building. Destroy the wooden barricade blocking your entrance to the building and head to the left of it.

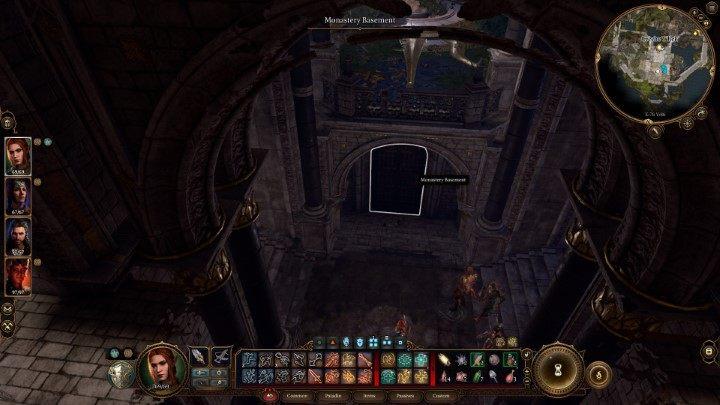
The corridors will lead you to the stairs going down to the ground floor. On the ground floor, head towards the room with the large statue of the goddess. Circling the statue, you’ll come across the stairs. They lead to the building’s basement. In the basement, you will find what you are looking for – the Crèche Y’llek.
What secrets lie within the Rosymorn Monastery
The Rosymorn Monastery in Baldur’s Gate 3 is shrouded in mystery and danger, serving as the gateway to the Githyanki Crèche, known as Crèche Y’llek. This ancient site is not just a backdrop for the unfolding story but a treasure trove of secrets waiting to be uncovered.
Secrets Within the Monastery
- Hidden Treasures: The monastery is home to various hidden chambers and treasures, accessible only to those who can solve its puzzles and navigate its traps. Players must interact with Githyanki leaders and decipher clues to find valuable loot.
- Githyanki Lore: As players explore, they encounter Githyanki warriors and learn about their culture and history, which is deeply intertwined with the quest for a cure for the tadpole infection plaguing the party.
- Zaith’isk Machine: Central to the monastery’s secrets is the Zaith’isk, a powerful machine that can potentially help characters rid themselves of the parasitic tadpoles. However, using it comes with risks, as players may face dire consequences if things go awry during the process.
- Dangerous Encounters: The monastery is not devoid of threats; players must contend with hostile Githyanki raiders and tricky traps that can lead to unexpected battles or perilous situations.
The Rosymorn Monastery stands as a pivotal location where adventurers can uncover rich lore, face formidable foes, and seek powerful artifacts—all while navigating the intricate dynamics of Githyanki society.
What treasures can be found within the Rosymorn Monastery
Within the Rosymorn Monastery in Baldur’s Gate 3, players can discover a variety of treasures, many of which are tied to quests and hidden puzzles. Here’s a breakdown of notable items and treasures that can be found:
Notable Treasures
-
Dawnmaster’s Crest: This legendary item is obtained by placing four ceremonial weapons on the correct pedestal after solving a puzzle related to the former Dawnmasters of the monastery. The weapons include:
- Ceremonial Battleaxe
- Ceremonial Mace
- Ceremonial Warhammer
- Longsword of Dawnmaster Welkinglory (already in place) .
- Holy Lance Helm: This helm can be found in a chest located on the roof of the monastery, guarded by an Ancient Giant Eagle .
- Blood of Lathander (Mace): A legendary mace that players can acquire during their exploration of the monastery .
- Various Weapons: Players will encounter several weapons scattered throughout the monastery, including those needed for the Blood of Lathander quest, which involves locating and retrieving specific ceremonial weapons .
Additional Loot
- Firewine Storage: The ground floor contains a storage area raided by Kobolds, where players can find various items and loot from defeated enemies .
- Gremishka Den: This area houses Gremishkas that drop loot upon defeat, although they can be challenging to fight due to their unique abilities .
The treasures within Rosymorn Monastery not only enhance gameplay through powerful items but also enrich the narrative as players engage with the lore and challenges presented in this ancient site.