In the shadowy depths of Baldur’s Gate 3, the Gauntlet of Shar beckons adventurers with promises of peril and power. This intricate walkthrough unveils the secrets of navigating this treacherous domain, where players must confront dark forces and unravel the mysteries of Shar’s enigmatic influence. From cunning traps to formidable foes, prepare to immerse yourself in a world where every choice shapes your fate. Join us as we guide you through the challenges that await in this captivating quest, ensuring you emerge victorious in your battle against the darkness.
How to obtain the Ketheric Thorm’s Relic and solve the puzzles in the mauzoleum?
To obtain Ketheric Thorm’s Relic and solve the puzzles in the mausoleum, players must first navigate the Thorm Mausoleum located in the Shadow-Cursed Lands. Upon entering, they will encounter a series of trials within the Gauntlet of Shar. Each trial requires players to complete specific tasks, often involving stealth, puzzle-solving, and combat. For instance, in the Soft-Step Trial, players should make a blood sacrifice to initiate the challenge, then stealthily navigate through a maze while avoiding patrolling shadows. Similarly, the Faith-Leap Trial demands careful movement across invisible platforms to avoid teleportation penalties. Successfully completing these trials will reward players with Umbral Gems, essential for progressing through the Gauntlet and ultimately accessing Ketheric Thorm’s Relic, which is crucial for advancing Shadowheart’s personal quest and understanding the source of Thorm’s immortality.
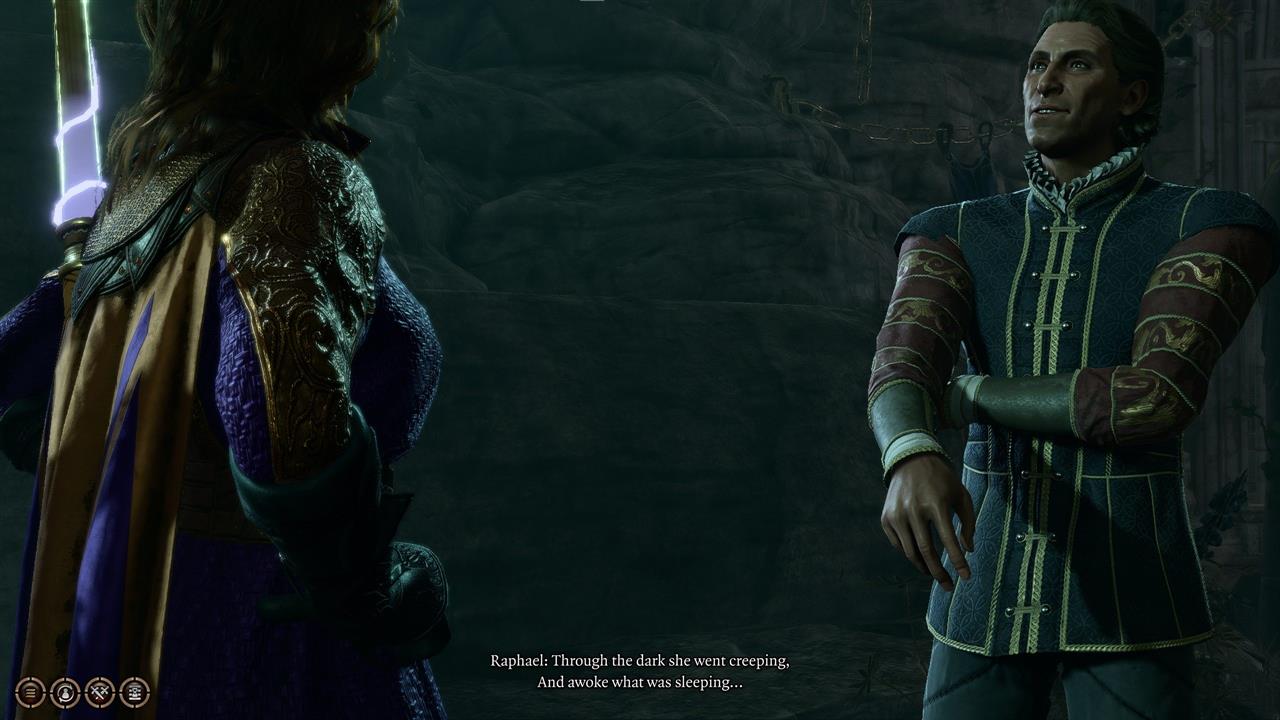
Upon arriving at the cultists’ headquarters in the Moonrise Towers in act 2, head to the Thorm Mauzoleum – before you enter it you will meet Raphael, who will tell you not to release the creature inside under any circumstances. Finish the conversation with him and go inside.
It’s no secret that the Thorm’s Mausoleum is associated with Shar, Shadowheart’s goddess – if you want to get the most out of this thread, you should have her in your party.
Read Thorm’s diaries found in the rooms, then proceed forward. A small puzzle awaits you – you need to press the buttons in the correct order. Split your characters and click ‘Moonrise Towers’, ‘Grief’ and finally ‘General’ – the gates to the further part of the location will open. Use the elevator.
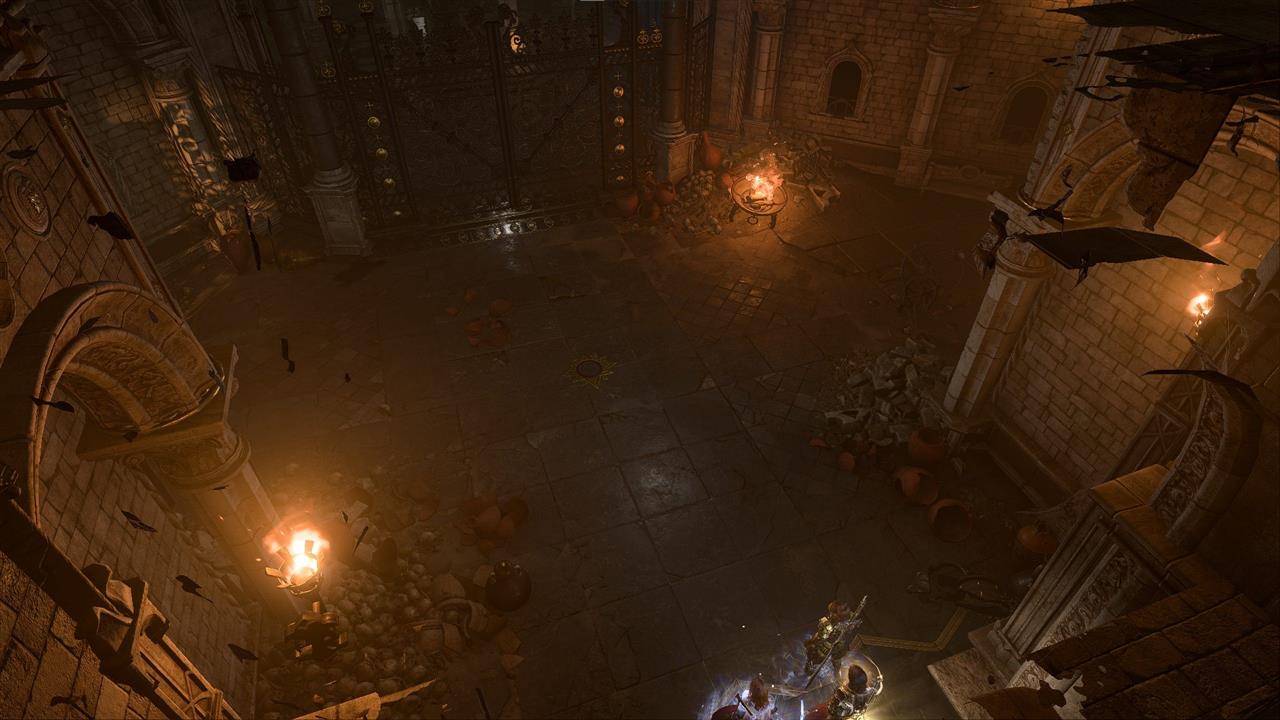
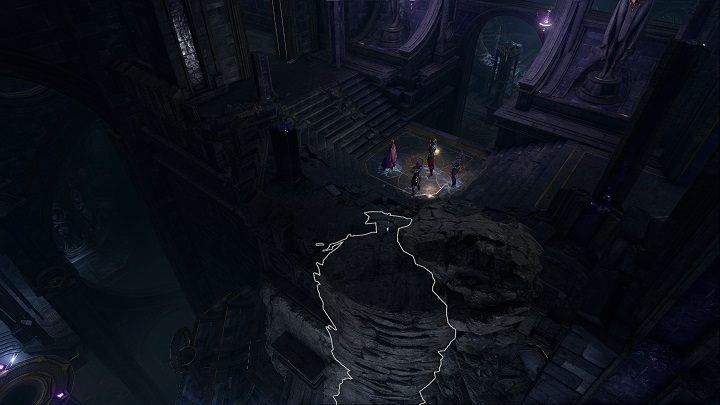
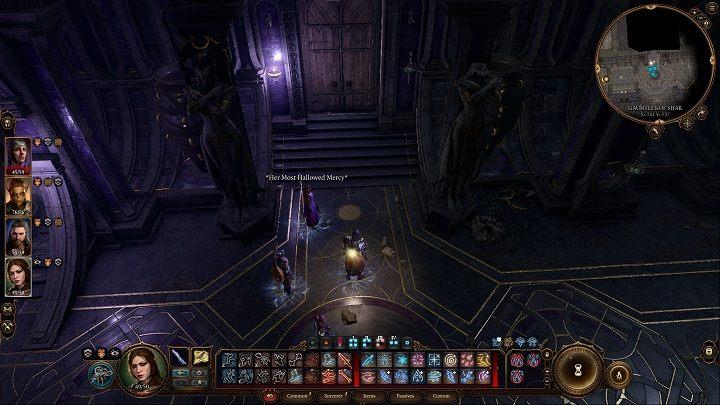
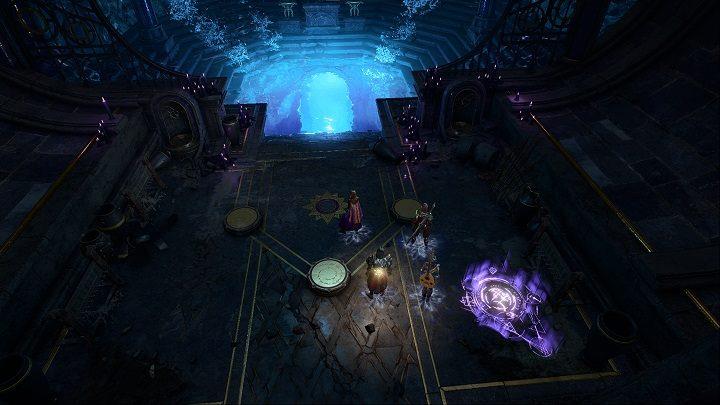
Keep going straight ahead until you reach a huge hall with a statue of Shar in the middle.
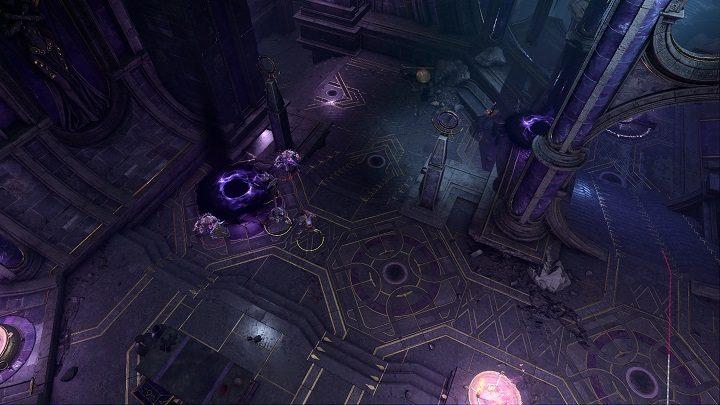
Your task here is to lower four censers using the lever. There are four levers in the four corners of the room. Activate them and then extinguish all the burning censers in the room.
This will reveal a path to the crystal in the middle – activate it and go through the gate forward to the next room, where you can interact with the skeletons.
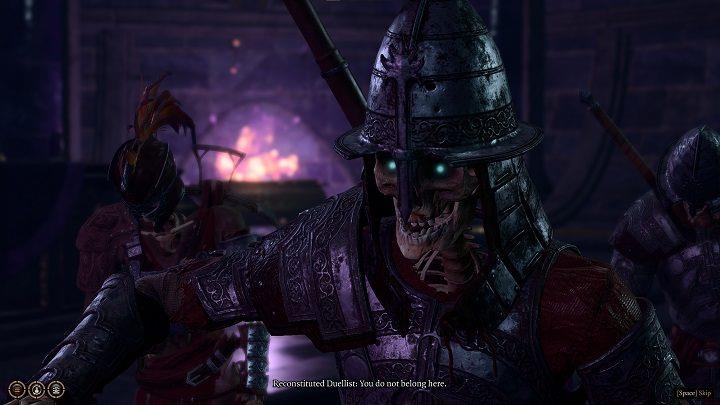
Choose the dialogue option in which you say that you were sent by Z’rell, and then prepare to fight with the guards of the ruins. Skeletons will be your allies – focus attacks on the black spheres that summon additional enemies, and deal with the rest afterwards.
Once the battle is over, approach the mechanism located at the front of the room and interact with it. Shadowheart should have extra dialogue options here.
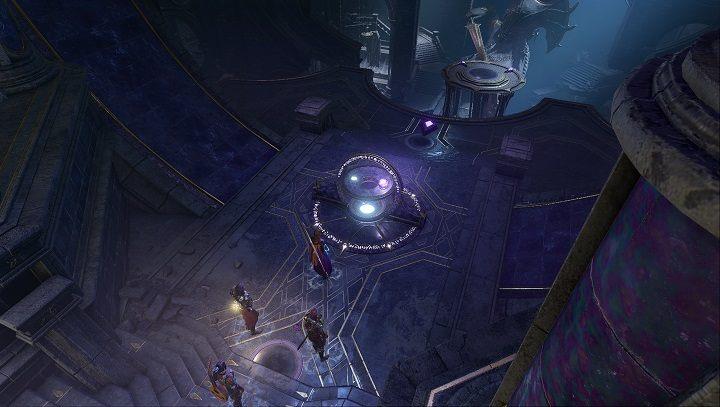
To proceed further, you need to complete Shar’s trials and collect the 4 Umbral Gems found in the location.
How to deal with Yurgir and get 1st Umbral Gem?
To deal with Yurgir and obtain the first Umbral Gem in Baldur’s Gate 3, players must navigate through the Gauntlet of Shar trials. After successfully completing the initial challenges, you’ll encounter Yurgir, a formidable enemy. It’s advisable to approach this battle strategically; using stealth or ranged attacks can give you an advantage. Once Yurgir is defeated, loot his body to claim the first Umbral Gem. This gem is essential for progressing in Shadowheart’s personal quest, so ensure to secure it before moving on to the subsequent trials.
Head right from the central location – you will see a beast that resembles a black panther.

You can follow it or try to go around – you will quickly see that you can interact with the characters encountered here.
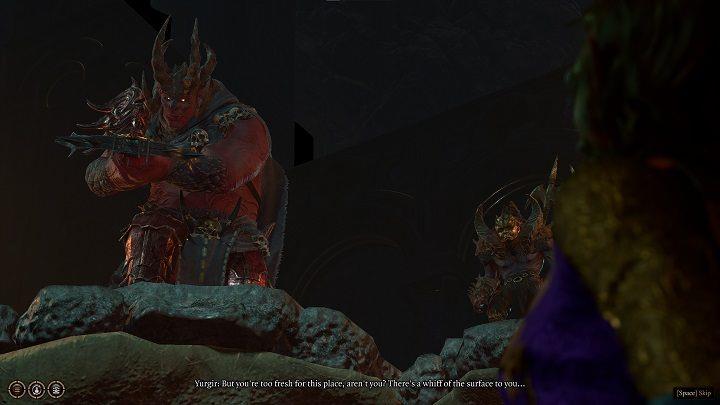
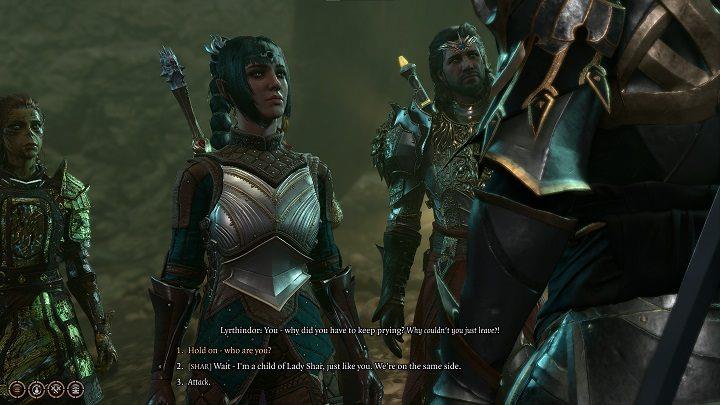
Yurgir is the opponent mentioned by Raphael. If you followed the panther, you will be able to interact with it and learn more about the history of this place. If you’ve decided to go around it, you’ll see the ambush ahead of time and be able to start the fight on your terms.
Talking to him will reveal that he has a contract with Raphael. After a successful Insight roll, you will be able to choose one of the two new options – you can manipulate him to kill his soldiers, the panther, and finally himself, or you can search the location for information.
The first option is much faster and allows you to obtain the Gem right away. The second requires going to another part of the temple. If you want to free the demon from the contract, then continue searching for the gems until you find all three and then stand in front of the elevator.
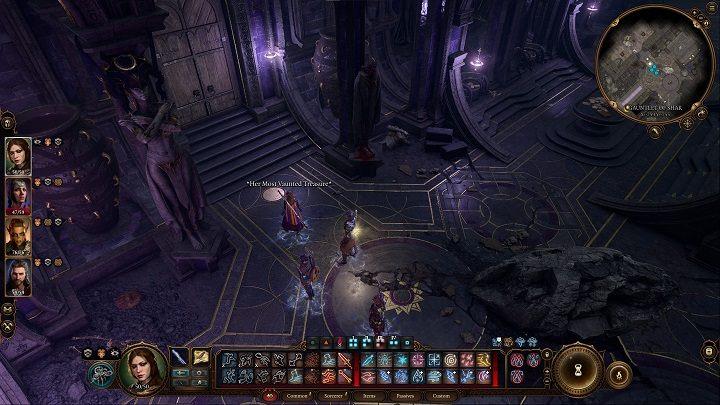
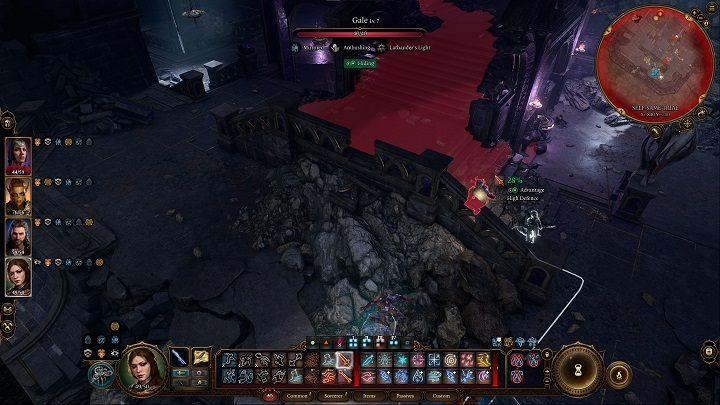
Once you have obtained 3 gems, go down twice from the place of the final trial. Look for the pentagram on the ground and light a candle next to it. A rat will appear – interact with it. You can agree to its plan, but then you will have to manipulate the demon or fight him. The preferred option is to fight the rat and its duplicates.
The best way to win the fight is to have a Cleric with the Spirit Guardians spell in your party – rats will automatically run towards you, stepping into the spell and dying on the spot.
After the battle, a cut-scene will start with the only surviving priest of Shar.
Fighting him is inevitable, and defeating him will finally break the demon’s contract. Return to Yurgir – you will see a cut-scene in which Raphael appears. After it’s finished, you will be able to grab a gem.
The Soft Step Trial – 2nd Umbral Gem
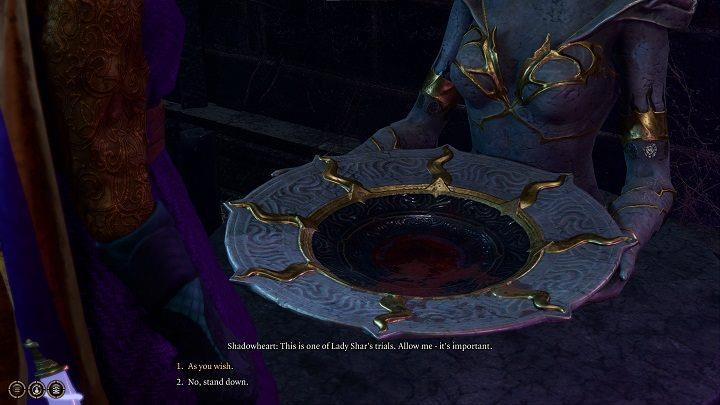
The Soft Step Trial in Baldur’s Gate 3 is a stealth-based challenge where players must navigate a maze while avoiding detection by patrolling shadows. To initiate the trial, players must first perform a blood sacrifice at a ritual basin, which can be done by any character, particularly Shadowheart for added approval. Once inside, it’s crucial to utilize a character with high Stealth skills, such as Astarion, to maneuver through the maze without triggering traps or being spotted. Players can employ various strategies, including using spells like Invisibility or simply bypassing the trial entirely with clever tactics like Dimension Door. Successfully reaching the end of the trial allows players to claim the second Umbral Gem, essential for progressing through the Gauntlet of Shar and unlocking further mysteries in the game.
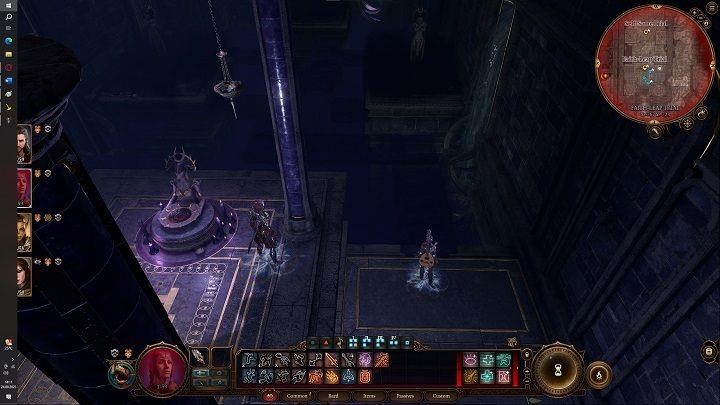
The first trial is located by the main corridor. Open the first door and click on the Shar’s monument to make an offering. The goal in this trial is to slip unnoticed past the guards to the end of the room.
However, before you do that, you have to find the key in the central part, which opens the gate at the end.
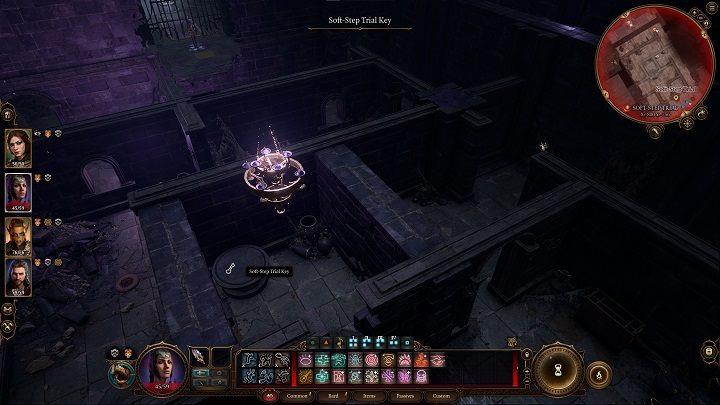
After finishing the trial, take the gem and proceed to the next door located nearby.
The Self Same Trial – 3rd Umbral Gem
The Self Same Trial in Baldur’s Gate 3 presents a unique challenge where players confront the shadowy reflections of their own party members. This trial is particularly tricky, as attacking another character’s shadow self results in a debuff known as Cheater’s Folly, which reduces all abilities by one point. To successfully navigate this trial, it is advisable to send companions back to camp, allowing players to face only their own shadow. Upon defeating this dark reflection, players can claim the Umbral Gem located at the back of the arena, essential for progressing through the Gauntlet of Shar and ultimately unlocking Thorm’s Relic.
The next trial requires cunning, as you will be facing your reflections. They possess the same items and abilities as you, but they also have a few additional skills that you do not have. You can’t send your allies back to the camp, so you’re forced to fight as a four-people party. Start sneaking, save the game and enter the room. Upon entering the first steps, make a Perception skill check – if no one succeeds, load the game. Otherwise, you will be caught off guard – this can quickly lead to a wipe, depending on the strength of your party.
If you have passed the test, proceed sideways avoiding the enemy’s field of vision.
If you have a Rogue in your party, target someone who can be eliminated immediately with a Sneak Attack. Also remember to finish off clones with their originals. In other words, Gale must deal the final blow to Gale’s clone – otherwise, he will receive a curse. Clones can disappear into the shadows – use the Light spell to reveal them – just like with shadows and specters on the surface. After the fight is over, pick up the very rare ring and gem, and use the teleportation device to return to the beginning of the room. Next, head down the stairs.
The Faith Leap Trial – 4th Umbral Gem
The Faith-Leap Trial in the Gauntlet of Shar challenges players to navigate a treacherous path while avoiding deadly pitfalls. Upon entering, adventurers are greeted by a Sacrificial Bowl, which requires a blood offering to commence the trial. Once activated, glowing orbs appear around three statues, indicating safe spots for jumping. However, the true challenge lies in the hidden blocks that only reveal themselves when approached, requiring players to tread carefully. Failure to navigate correctly results in significant damage or even death, making it crucial to either utilize characters with enhanced jumping abilities or to pull levers that unveil safer routes. Successfully completing this trial rewards players with one of the coveted Umbral Gems needed to progress further in the Gauntlet and Shadowheart’s questline.
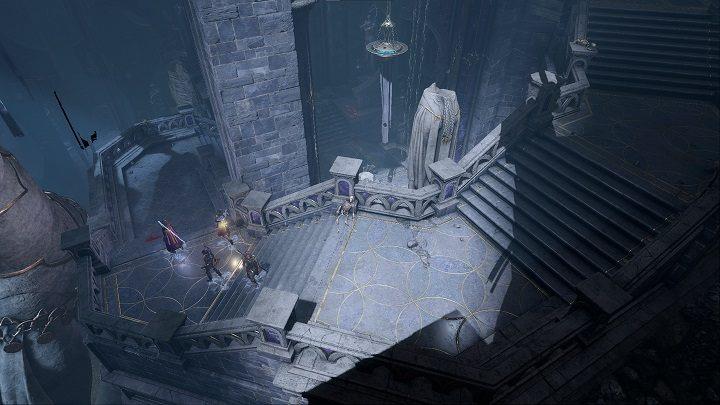
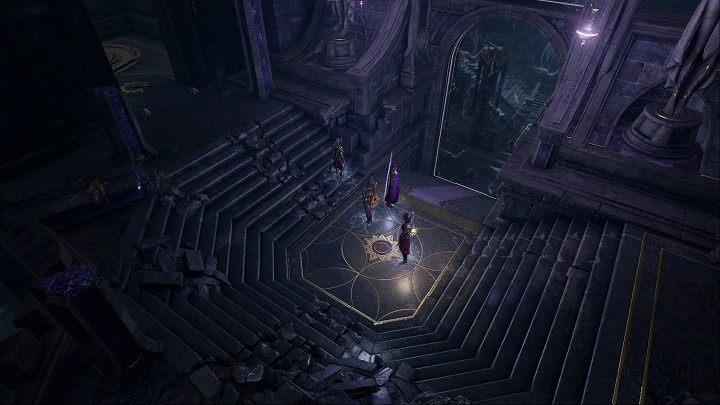
Choose the door directly opposite and prepare for the trial, which, despite appearances, is trivial. You will have to walk down an invisible path and basically there are two options for completing this task.
The first option is to memorize the layout of the path that is right before the Shar’s monument.

The second option is to use the Fly spell, thanks to which you won’t even have to take this path.
Additionally, if you set up the camera in the right way, you will see the subtly outlined plates. Just remember to jump on the last platform at the end of the path, instead of walking, as your character may take the wrong path and die.
Upon reaching the end, take the gem and return to the corridor.
Spear of Night
The Spear of Night is a powerful weapon in Baldur’s Gate 3, intricately tied to the lore of the Silent Library. To obtain it, players must navigate a series of puzzles and riddles that challenge their wit and strategy. This spear not only enhances combat capabilities but also carries a rich narrative significance, embodying the themes of darkness and mystery prevalent in the game. As adventurers delve into the depths of the library, they will uncover secrets that reveal the spear’s true potential and its connection to the enigmatic deity Shar.
Go to the library. To get there, you have to go down the stairs next to the huge statue. The library is next to The Faith Leap Trial. Go through the barrier on the door and eliminate the sphere in the center, which casts an aura of silence. After that, defeat the remaining enemies. Remember that using the Daylight, Dancing Lights, or Light spells causes your enemies to lose resistance to most damage types.
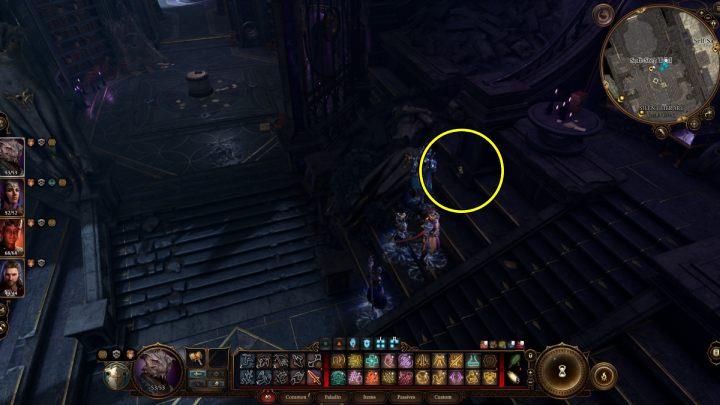
After the fight is over, disarm the traps and search all the book shelves. Find the book “Teachings of Loss: The Nightsinger”. At the stairs, you will find a button – press it to open the gate to the next room. Put the book you found on the shelf and go to the last room. As Shadowheart, pick up the Spear of Night and search the room.
Balthazar
Balthazar is a pivotal character in Baldur’s Gate 3, intricately woven into the narrative surrounding the Gauntlet of Shar. As a powerful figure, Balthazar embodies the complexities of ambition and morality within the game’s rich lore. Players encounter him during key quests, where his motivations and allegiances can significantly influence the storyline. Understanding Balthazar’s role is essential for navigating the intricate web of alliances and conflicts that define the player’s journey through the Shadow-Cursed Lands and beyond. Engaging with him not only reveals deeper insights into the game’s themes but also offers strategic advantages in gameplay, making his character a focal point for both narrative and tactical exploration.

Teleport yourselves to the Waypoint Gauntlet of Shar and go west. The path will lead you to the undead skeletons. You have to fight them. This battle works in the same way – black orbs summon opponents, and they themselves have resistance to damage when they are in the dark. Defeat them and talk to Balthazar. You can cooperate with him to break into the complex or kill him here. Fighting him will be a challenge, however with a good party, you should be able to handle him – defeating Balthazar at this stage may make future sequences easier for you.
Ketheric Thorm’s Relic – Nightsong
Ketheric Thorm’s Relic, known as Nightsong, is a pivotal element within the Gauntlet of Shar in Baldur’s Gate 3. This relic is intrinsically linked to Ketheric Thorm’s quest for immortality and serves as a key item that players must pursue. As players navigate the trials of the Gauntlet, they uncover not only the challenges posed by Shar’s dark influence but also the deeper lore surrounding Thorm’s character and his ambitions. Successfully obtaining Nightsong is essential for progressing through Shadowheart’s personal storyline, revealing critical insights into her past and the overarching narrative of the game.
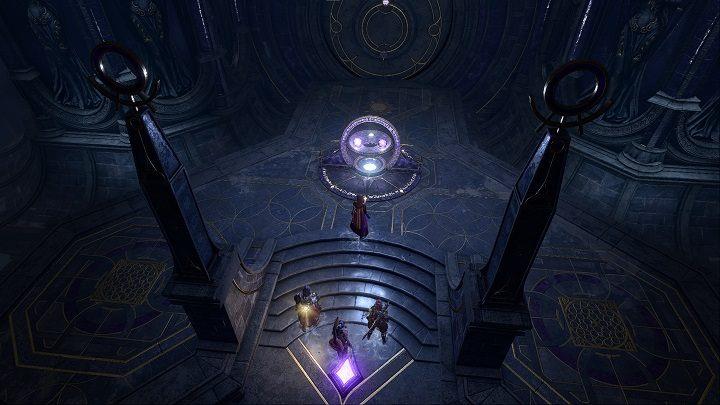
Once you acquire all 4 gems, return to the Gauntlet of Shar Waypoint, and then head to the main altar. Place one of the gems, step onto the platform and head down. Finally, interact with the next altar and place the remaining three gems. Go through the gate, and then to the blue water.
Note! This is the point at which events in the world are moving forward. If you haven’t done the side quests on the surface, it’s worth going back and doing them now.
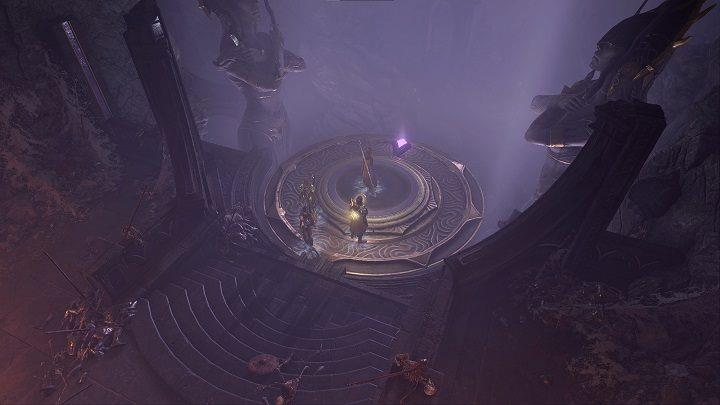
You are in the domain of the goddess Shar – you must make your way to the end of the location, jumping on islands floating in the air.
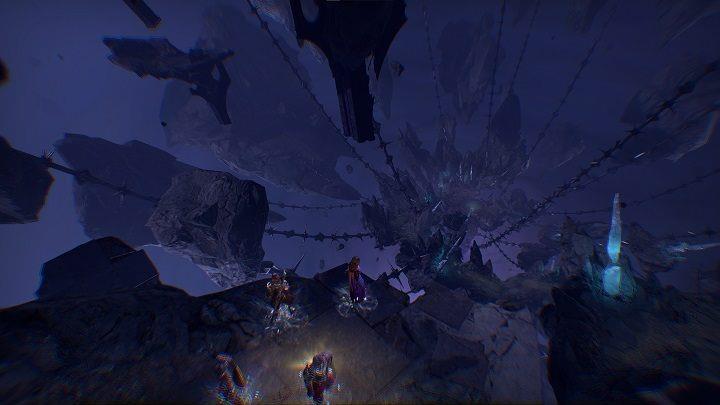
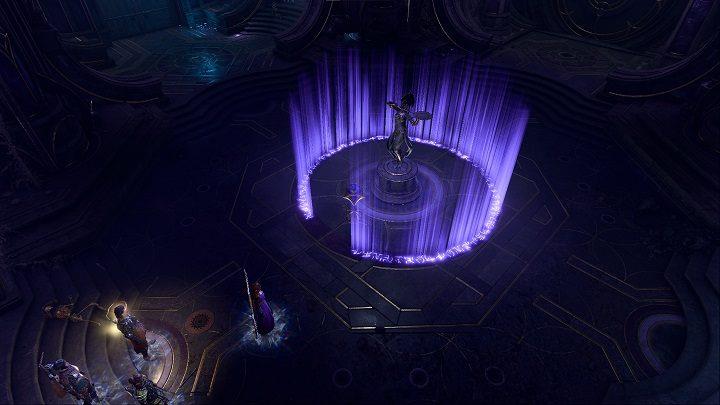
At the end of the location you will find Nightsong – an Aasimar who was imprisoned by Balthazar and is the source of Ketheric’s immortality. If you’ve worked with Balthazar, you will now have a conversation with him and possibly a fight. However, if you have killed him, you will immediately finish the quest with Nightsong.
If you have Shadowheart in the party, you will have to make a very important decision, which may determine the life of Shadowheart and Nightsong. You can personally take care of Nightsong’s fate, let Shadowheart make the decision herself, or persuade her to kill or spare her.
What makes the Gauntlet of Shar a must-complete challenge in Baldur’s Gate 3
The Gauntlet of Shar in Baldur’s Gate 3 stands out as a must-complete challenge for several compelling reasons, intertwining gameplay mechanics with rich narrative elements.
Significance in the Story
The Gauntlet serves as a pivotal location within the game’s second act, deeply connected to Shadowheart’s personal quest and the overarching narrative involving the goddess Shar. Players are drawn into a realm where they must prove their worthiness to become Dark Justiciars, followers of Shar, which adds layers of character development and stakes to the gameplay.
Complex Puzzles and Trials
Players face a series of intricate trials designed to test their skills in combat, strategy, and problem-solving. Each trial culminates in the acquisition of Umbral Gems, essential for progressing through the dungeon and unlocking further story elements. The trials include unique challenges such as battling shadow versions of oneself and navigating treacherous paths, enhancing both the difficulty and engagement of the experience.
Unique Rewards and Gameplay Mechanics
Completing the Gauntlet not only rewards players with powerful items and narrative advancements but also significantly impacts companion quests, particularly those of Shadowheart and Astarion. The mechanics involved—such as sacrificing blood to initiate trials—add a unique twist that emphasizes the dark themes of sacrifice and loyalty prevalent in Shar’s lore.
Culmination of Themes
Ultimately, the Gauntlet embodies key themes of darkness, sacrifice, and personal growth. It challenges players to confront their fears and make choices that resonate throughout their journey in Baldur’s Gate 3, making it an essential experience for anyone looking to fully engage with the game’s rich storytelling and complex character arcs.
What are the main obstacles in the Gauntlet of Shar
The Gauntlet of Shar in Baldur’s Gate 3 presents players with a series of formidable obstacles that test their combat prowess, problem-solving skills, and strategic thinking. Here are the main challenges encountered within this dark dungeon:
1. Entrance Challenges
- Traps and Puzzles: Upon entering, players must navigate a room filled with magical traps and a statue of Shar that cannot be approached directly due to a hidden forcefield. To proceed, players must extinguish eight Mystic Thuribles while avoiding traps that can inflict damage or blindness.
2. Trials of Shar
The Gauntlet features three primary trials, each with distinct challenges:
- Faith-Leap Trial: This trial requires players to traverse nearly invisible walkways over a vast chasm. Falling can result in instant death, necessitating careful movement—ideally one character at a time—to identify safe paths.
- Self-Same Trial: Here, players face shadow versions of themselves in combat. The challenge lies in avoiding attacks on other party members’ shadows to prevent the “Cheater’s Folly” curse, which debuffs abilities. This trial encourages strategic coordination among party members.
- Soft-Step Trial: Players must make a blood sacrifice to initiate this trial, which involves navigating through gates while avoiding detection. Utilizing stealth and careful movement is crucial to successfully completing this challenge.
3. Combat Encounters
Throughout the Gauntlet, players will encounter various enemies, including Dark Justiciars and Umbral Tremors. These foes can overwhelm unprepared parties, making it essential to maintain high health and readiness for battle.
4. Boss Encounter
The final obstacle is the confrontation with Yurgir, a powerful enemy guarding the last Umbral Gem required to complete the trials. Players must employ clever tactics to defeat him and his minions, often involving negotiation or manipulation rather than brute force.
These obstacles not only enhance the gameplay experience but also deepen the narrative connections within Baldur’s Gate 3, particularly relating to Shadowheart’s storyline and the lore surrounding Shar.