Facing the formidable Starscourge Radahn in Elden Ring is a rite of passage for many Tarnished adventurers. This colossal boss, known for his devastating gravity magic and relentless arrow barrages, stands as a significant challenge even for seasoned players. To conquer Radahn, you must not only master your dodging skills but also strategically summon allies to distract him while you unleash your most powerful attacks. Whether you’re a melee fighter or a spellcaster, understanding his attack patterns and exploiting his vulnerabilities can turn the tide of battle in your favor. Prepare for an epic showdown that will test your skills and determination!
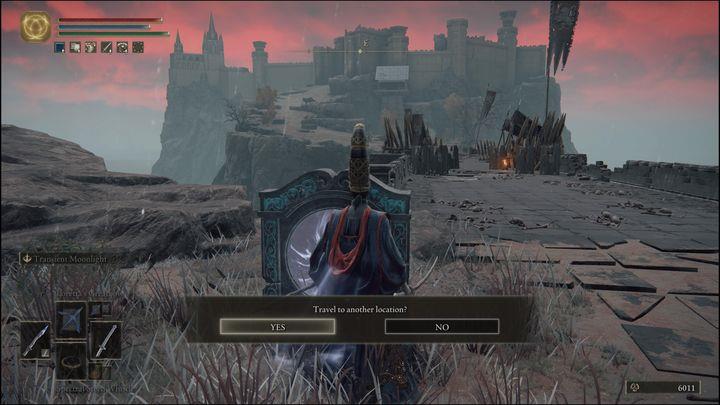
Defeating Radahn is required to complete the main storyline. You will get to it through the portal located at the Site of Grace called Impassable Greatbridge.
Reward for defeating
Defeating Starscourge Radahn not only marks a significant achievement in Elden Ring but also unlocks crucial rewards that enhance your journey through the game. Upon his defeat, players receive the Remembrance of the Starscourge, which can be exchanged for powerful items, and Radahn’s Great Rune, granting substantial bonuses to your character’s abilities. Additionally, this victory triggers a cinematic event that reveals a meteor landing in the Lands Between, furthering the narrative and opening up new questlines, particularly Ranni’s quest. Thus, conquering Radahn is not just about overcoming a formidable foe; it is a pivotal step that enriches gameplay and story progression in Elden Ring.
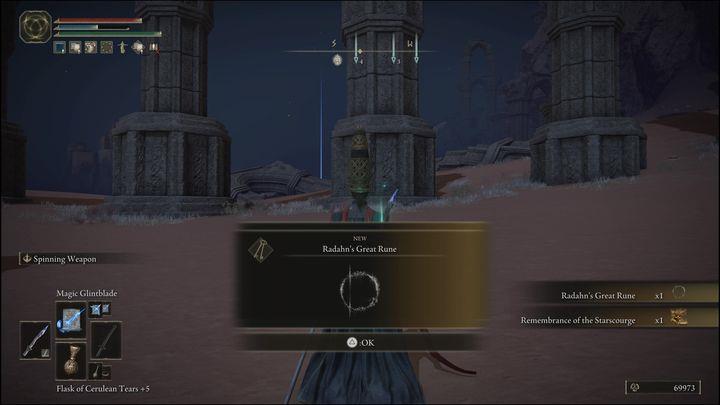
Defeating Starscourge Radahn rewards you with 70,000 Runes, Radahn’s Great Rune and Remembrance of the Starscourge.
General tips
To successfully defeat Starscourge Radahn in Elden Ring, it’s essential to adopt a strategic approach during the battle. Preparation is key: ensure you’re at least level 70 and equip a powerful weapon suited to your build, such as the Moonveil Katana or strong ranged spells. Summoning allies can significantly ease the fight; activate the golden summoning signs scattered around the battlefield to distract Radahn and create openings for your attacks. Stay mobile: dodge his powerful arrows and keep an eye on his movements to avoid devastating area-of-effect attacks. When engaging in melee, aim for his legs to stagger him, and be ready to retreat and heal during his more aggressive phases. Finally, remember that patience and practice are vital; learning Radahn’s attack patterns will help you find opportunities to strike effectively.
- Don’t summon other players for help! Doing so means you’ll lose access to your mount, who’s crucial in defeating General Radahn.
- Take advantage of the Festival instead to summon many allied NPCs. They’ll be present in the boss arena, hiding behind obstacles. Summoning them takes just a moment, select the appropriate option to make the NPC appear.
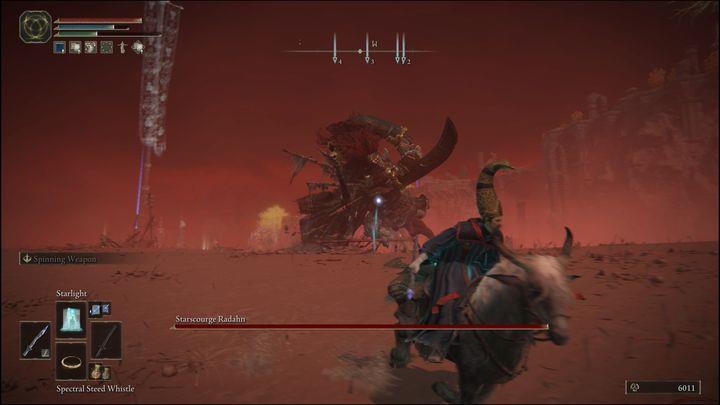
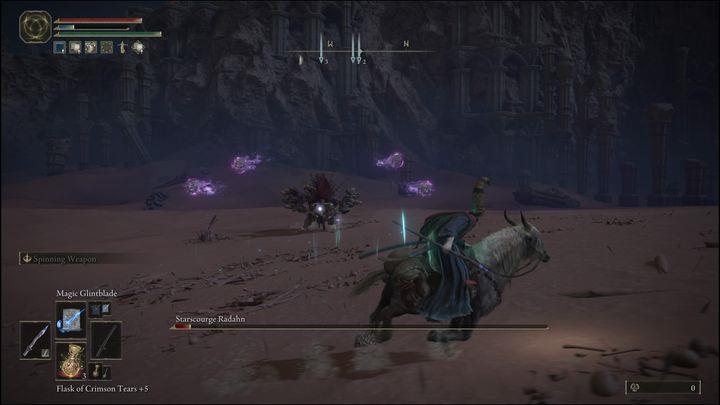
- At first Radahn will try and shoot you with powerful, purple arrows. Avoiding them on horseback is practically impossible. Gallop towards him as fast as you can until he shoots. When he lets loose an arrow, quickly get off your steed and dodge-roll when it gets close. If you’re rushing at him with full speed you should only have to do it twice.
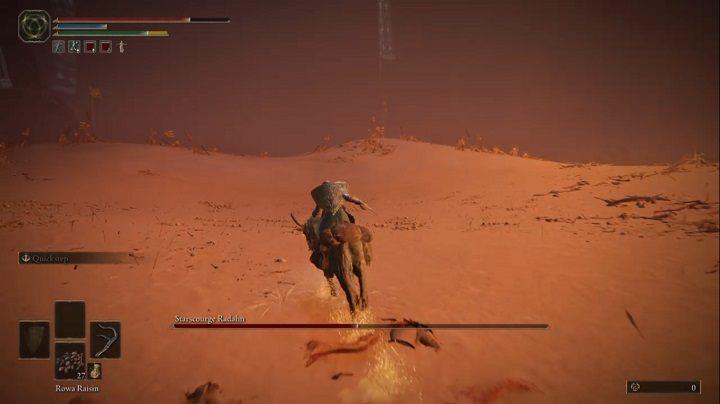
- Once you get closer to Radahn he’ll attack you with a rain of arrows which tracks your movement. Make sure you’re mounted when he does it. This should let you outrun the attack.
- You can hide behind cover. This could protect you from damage in some cases, for example when he fires purple arrows. The arrow stops at the first obstacle it hits.
- When you finally manage to close the distance between you and Radahn he’ll start fighting you in melee. His attacks and combos are very dangerous, so you should fight him mounted.
- The battle against Radahn has three phases. The second phase starts when he has 80% of health – the boss gains ranged attacks and moves that can pull you closer. The third phase starts when you deplete half of his health.
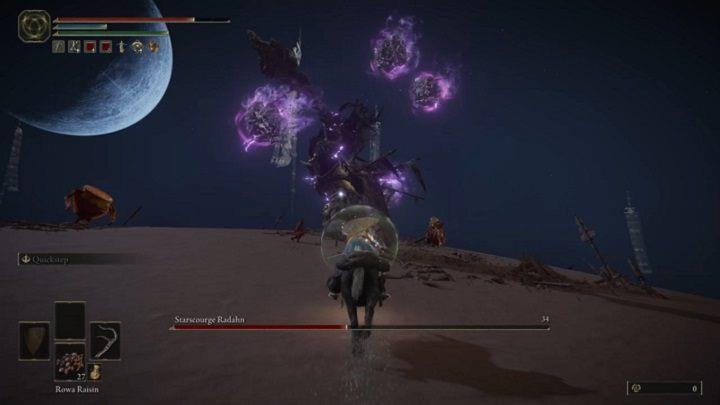
- The boss will take to the sky and disappear from the arena. Carefully watch the sky, as well as the flaming meteor. Said meteor is Radahn, who’s about to kill you if you don’t dodge. Run the other way and double-jump when the meteor falls.
- His four meteorites won’t start attacking you until he performs his special attack. He telegraphs it by moving far away from you and swinging his weapon in two directions. This will send the meteorites flying towards you. You should then dismount and dodge-roll at the right moment.
- Remember that you can summon certain NPCs to fight alongside you several times. Their signs, however, may appear in different places
- You can finish the fight without attacking the opponent even once – you can let the summoned warriors do the fighting. It is a relatively safe method, but it will obviously take longer.
- Radahn’s attacks are a mix of physical attacks and magic, so it is worth wearing something that has high stats for every damage type.
- Radahn is very susceptible to Scarlet Rot, so inflict this status if you can. This will deplete his HP very quickly.
- Radahn is vulnerable to bleeding, though not as much as to Scarlet Rot. So if you have a weapon that inflicts such a status, it is worth using it. This way, you will slightly speed up the process of depleting the boss’s HP.
- Remember to heal your mount. To do this, prepare as many raisins as possible and, if necessary, move away from the enemy to heal your mount. His death in a fight means the loss of a precious healing bottle and the risk of your death if you fall off it.
Mage build – how to fight?
To effectively fight Starscourge Radahn as a mage in Elden Ring, focus on utilizing your ranged spells and maintaining distance to avoid his powerful melee attacks. Start by summoning NPC allies to distract him while you cast spells like Comet or Glintstone Pebble, which can deal significant damage from afar. Radahn is particularly vulnerable to Frostbite and Scarlet Rot, so consider using spells or items that inflict these status effects to gain an advantage. During his second phase, when he becomes more aggressive, stay mobile and keep an eye on his attack patterns; this will help you dodge his devastating area-of-effect moves. Remember to manage your resources wisely, ensuring you have enough FP and healing items to sustain your offensive strategy throughout the fight.
You must prepare well for this fight. Amulets such as the Cerulean Amber Medallion (increases mana), Graven-School Talisman (enhances sorcery) or Stargazer Heirloom (increases intelligence) will come in handy. You should also have at least 5 bottles of cerulean tears as well as mix a wondrous physick to make it increase intelligence and replenish mana.
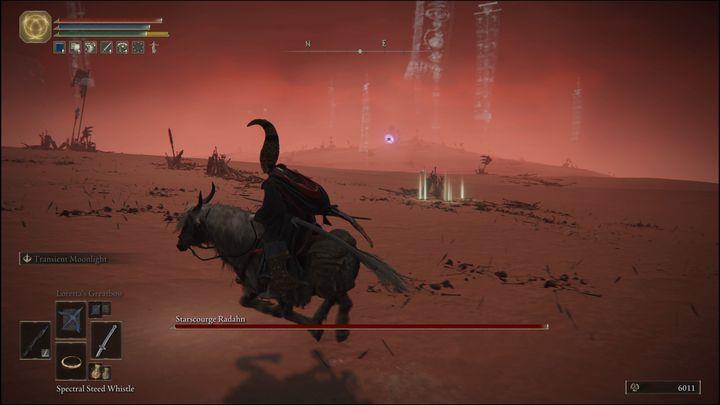
As the fight begins, immediately after entering the arena, mount your steed. Gallop towards the boss until he fires a purple arrow. Once he does so, jump off the steed and dodge-roll. You’ll probably have to do it twice.
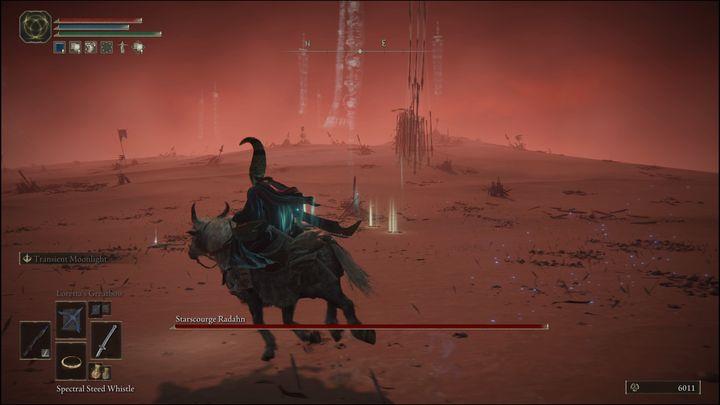
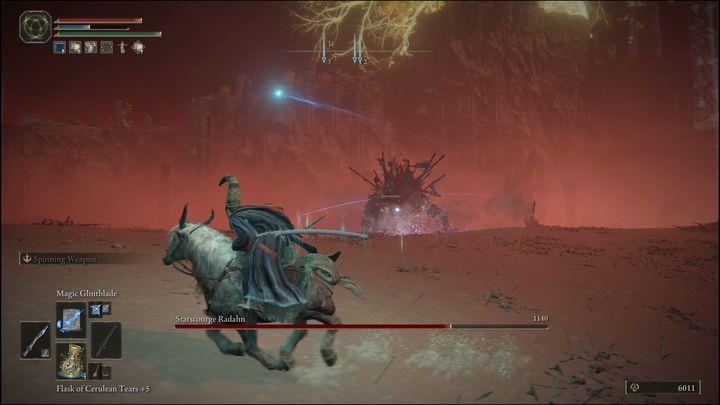
Once you get a bit closer Radahn will start attacking you with a barrage of arrows while mixing in some other attacks along the way. You must reach him as soon as possible while avoiding the rain of arrows.
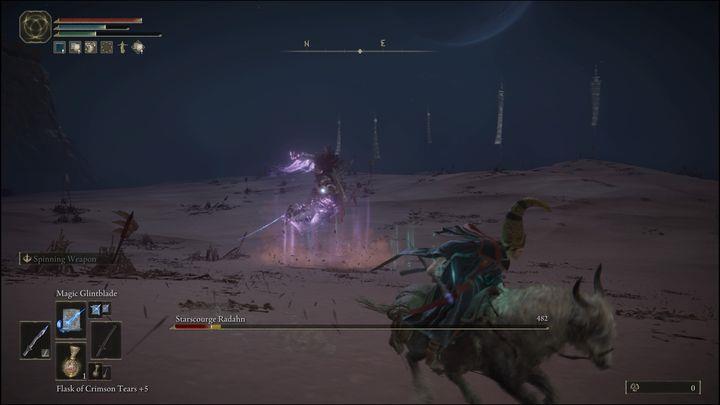
Once you finally close the distance, Radahn will put away his bow and gallop towards you to fight you in melee. This is a good opportunity to pelt him with spells. The old reliable Magic Glintblade is your best bet. This spell is perfect against Radahn, as his combos are very long, letting you gallop away from him while casting, the projectiles hitting the boss after a while and dealing some heavy damage.
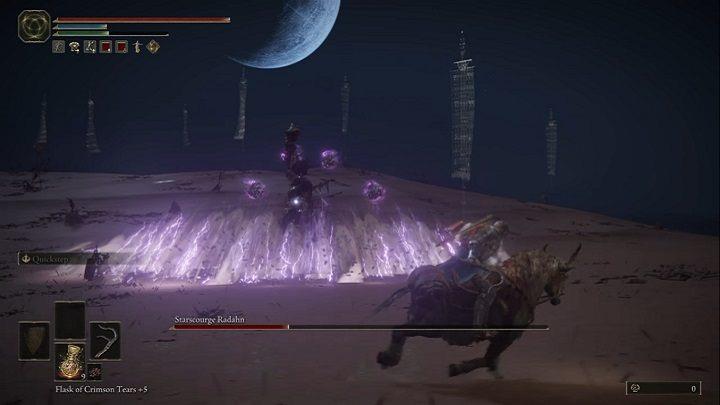
The second phase begins once his HP reaches 80%. He’ll pause for a while and gain new gravity-based attacks. From now on you shouldn’t get close to him. Not only can he create a gravity field covering a large area and pulling you closer, but he now also creates a shockwave during his combos which deals serious damage to you and your steed.
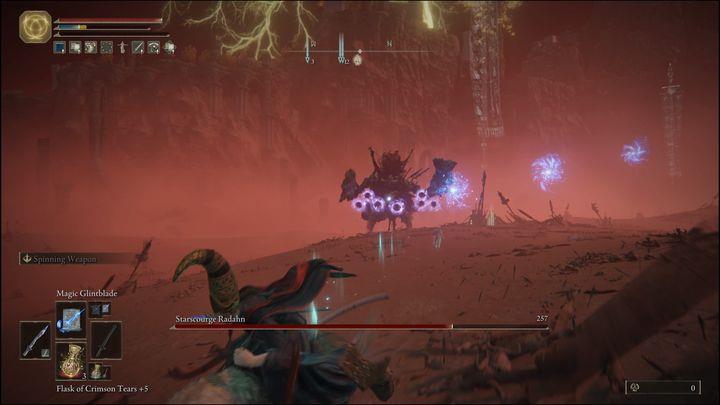
Radahn can also conjure small meteorites. Avoiding them at close range is very difficult. When he performs this attack you should move away and then gallop to the left or to the right until all his projectiles miss. Keep casting spells in the meantime.
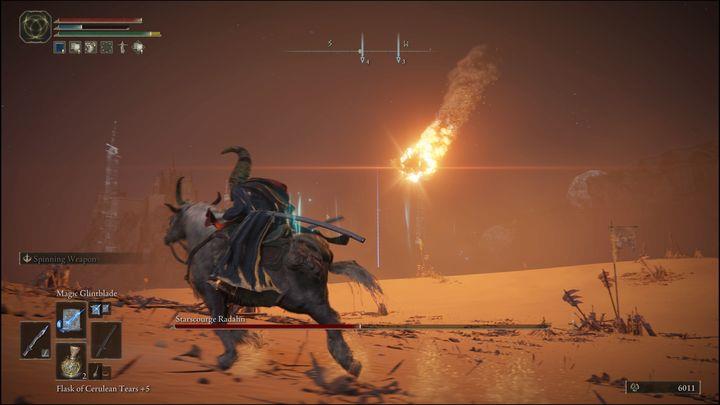
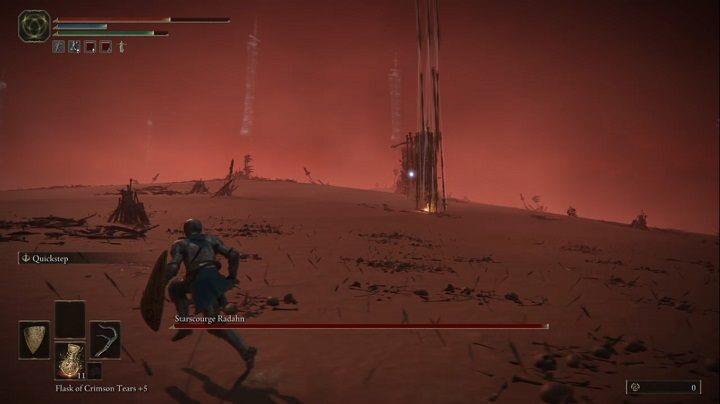
When his health reaches 50%, he’ll disappear from the arena. Watch the sky – try to spot the meteor. You must avoid this attack if you want to survive. Run in the opposite direction from where the meteor is about to hit. Double jump when Radahn lands to avoid damage.

The rest of the fight is similar as to before. The key differences are two of his attacks. When Radahn lands he’ll conjure four huge meteorites. They will follow him. Don’t worry about them when the boss is close to you. They’ll only fly towards you once the boss gets far away and starts swinging his weapons.
He usually does so at the very end of the fight, when his health is very low. When you see the boss moving away from you, dismount your steed. To avoid the meteorites you must dodge-roll. The meteorites on the left go first, then the right ones. Be ready to dodge twice in quick succession.
Watch out, you’re still not safe after avoiding the meteorites! Radahn will strike again immediately after, creating a shockwave close to you. Avoid the meteorites, immediately mount your steed and gallop away while jumping over the shockwave!
Each time the boss gets close and executes a combo, move away to a safe distance and cast Magic Glintblade. This will let you damage Radahn without the risk of losing health.
Melee build – how to fight?
To effectively engage in melee combat against Starscourge Radahn in Elden Ring, players should focus on a build that maximizes physical damage output and survivability. Key strategies include utilizing weapons with high stagger potential, such as the Giant-Crusher or the Claymore, which can interrupt Radahn’s attacks and create openings for counterattacks. Equipping talismans like the Rotten Winged Sword Insignia enhances damage from consecutive hits, while buffs such as Flame Grant Me Strength can significantly boost overall damage. Additionally, maintaining agility through dodging and timing attacks carefully is crucial, as Radahn’s powerful ranged abilities can quickly deplete health. By combining these elements—strong weapons, effective talismans, and precise movement—players can dominate this challenging encounter.
It is best to start the fight by standing behind the nearest obstacles, the ones with summon signs. Summoning warriors at such an early stage will allow you to avoid the enemy’s magic missiles while the summoned companions slowly approach him, and then focus his attention on yourself. These projectiles can only be avoided by dodging or by mounting and dismounting at the right moment.
When you shorten the distance to the opponent, he will release a rain of arrows at you. You can avoid damage by sprinting, but it’s best to get on the mount.
When you or the summoned warriors are next to him, Radahn will start to use melee attacks. Companions will focus their attention on themselves most of the time, but that doesn’t mean that Radahn will be ignoring you. That is why it is worth running away after attacking him a few times and let others time to get his attention.

During the fight, try to be behind his back as often as possible. It is also worth using the environment to get under him – at least in situations when he attacks horizontally. Radahn also likes to use AoE attacks by hitting the ground with his swords. Staying behind him is a good way to avoid damage. Such an attack will immediately throw you off your mount and expose you to further damage.

When you delpete about 20% of his HP, Radahn will start using special magic attacks. It can be a magic blast that draws nearby characters to it – after it he will use a devastating blow. He will also use magic missiles that will most likely focus on you, so be prepared to dodge. At this stage, the enemy also becomes much faster.
In the middle of the fight, Radahn will disappear from the arena for a few seconds. You can use this time to heal yourself and summon warriors. However, the enemy will return as a meteorite – the impact will most likely kill you. If the surroundings are on fire, run as far as possible.
In this phase, most of the enemy’s attacks will be devastating, so be careful. Huge orbs will float around him, flying in four directions as Radahn performs a series of horizontal attacks, after which he will jump into the air. Move away from him, because when he lands, the enemy will create a shock wave around him.

Watch out for projectiles that the enemy will fire at you. They are very accurate and if you are not lucky, you can die – especially when they all catch you. In this case, make sure you have as much HP as you can. You can avoid projectiles by speeding up your mount at the right moment or by stepping off it (the latter action grants you temporary immortality).
What are the best strategies for dodging Radahn’s projectiles
To effectively dodge Starscourge Radahn’s projectiles in Elden Ring, consider the following strategies:
Key Strategies for Dodging Radahn’s Projectiles
- Utilize Your Mount: Start the fight on horseback to quickly close the distance. When Radahn begins to shoot arrows, gallop towards him to minimize the time spent under fire. If you see him preparing to shoot, dismount and roll to avoid the projectile as it approaches.
- Timing Your Rolls: For his gravity-based attacks, such as the meteorite slam, wait until you see him leap into the air. Roll forward just before he lands to evade damage from the shockwave created upon impact4.
- Strafe and Sprint: During Radahn’s meteor attacks, sprint sideways as the rocks descend. This lateral movement can help you avoid getting hit while maintaining your position relative to him.
- Stay Close: When dodging his melee attacks, aim to roll towards Radahn’s right side or directly behind him. This positioning not only helps you avoid his swings but also allows you to counterattack immediately after his combo finishes4.
- Watch for Telegraphed Moves: Many of Radahn’s attacks are well-telegraphed. For instance, when he raises his swords, prepare to dodge as he swings them down. Rolling through the attack can often place you in a safe spot behind him for a follow-up strike3.
By mastering these techniques, you can significantly increase your chances of surviving and ultimately defeating Starscourge Radahn in this challenging boss fight.
What are the best times to switch between on foot and horseback during the fight
In the fight against Starscourge Radahn in Elden Ring, knowing when to switch between being on foot and horseback is crucial for dodging attacks and maximizing your offensive capabilities. Here are the best times to make that switch:
Best Times to Switch Between On Foot and Horseback
- Initial Approach: At the start of the fight, quickly switch to horseback as you run towards Radahn. His arrow attacks are easier to dodge while on foot, but you can outrun them on horseback. Use this time to close the distance safely.
- During Arrow Barrages: If Radahn begins to rain arrows down on you, immediately switch to horseback. This allows you to maneuver more effectively and avoid damage while maintaining speed. Once the barrage ends, dismount to engage him directly.
- After AoE Attacks: When Radahn performs his area-of-effect (AoE) attacks, such as his ground slam, it’s wise to back off and heal while on foot. After healing, you can switch back to horseback for mobility as he recovers from his attack.
- When He Transitions Phases: As Radahn transitions into his meteorite phase (after losing half his health), he will leap into the air, creating a massive AoE attack upon landing. Use this opportunity to distance yourself on horseback, allowing you to evade the incoming attack more easily.
- To Close Gaps: When you want to quickly close the distance after dodging an attack or repositioning, switch back to horseback. This allows for rapid movement towards Radahn for counterattacks or heavy strikes when he is vulnerable.
By strategically switching between on foot and horseback during these key moments, you can enhance your survivability and effectiveness in this challenging boss fight.