Tracking the old gunslingers in Red Dead Redemption 2 isn’t just about chasing legends-it’s about uncovering the truth behind fading reputations and settling scores that refuse to die. Here’s how to complete the Gunslingers mission and get every clue, photo, and duel without missing a shot.
The Noblest of Men, and a Woman is given to you by Levin – you can meet this man in the smaller saloon in the eastern part of Valentine. This quest (marked with a white question mark on the map) is available in chapter 2 – after the gang breaks a camp in Horseshoe Overlook.
Arthur receives photos with whereabouts of four gunslingers. You can reach these people in any order. The three of the gunslingers have to be killed first and then photographed. One of them will agree to get photographed – this happens after a joined battle.
The quest doesn’t end when you get the four photos. You also don’t get any rewards. This isn’t a bug – the quest will continue later.
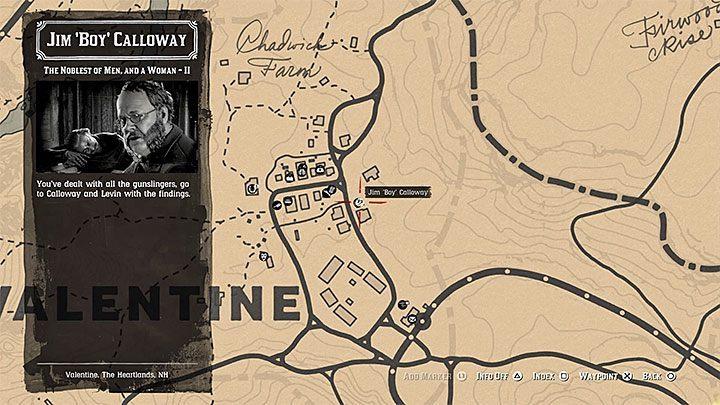
Wait for the game to unlock the next stage of this quest – this happens in chapter 4. The quest marker for The Noblest of Men, and a Woman should appear in the same saloon in Valentine. Visit that place. Ask the bartender about Calloway and Levin.
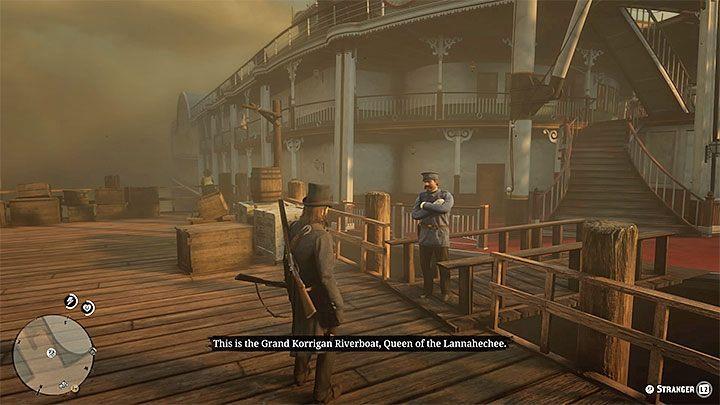
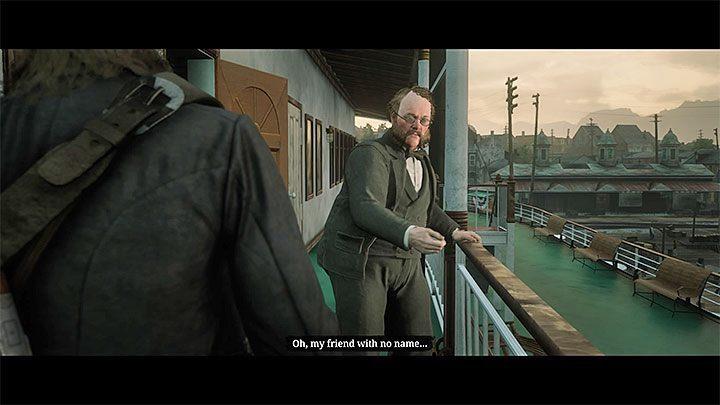
The bartender tells you that the men are on a ship in Saint Denis. Go there and meet Levin. You receive a new objective – find Slim Grant.
The next mission objectives will start one after another. Arthur must find Slim Grant, free him, and take the man back to Levin. The last objective is to have a duel with Calloway.
Where to find each Gunslinger location on the map
Flaco Hernandez is located near Cairn Lake in northern Ambarino, southeast of Colter in the northwest corner of the map. Emmet Granger hides at a pig farm southeast of Flatneck Station in southern Heartlands, New Hanover. Billy Midnight appears at Rhodes train station in Lemoyne, where you board a passing train.
Gunslinger Map Locations
| Gunslinger | Region/Area | Map Details |
|---|---|---|
| Flaco Hernandez | Ambarino (Cairn Lake) | Northwest corner, frozen lake camp south-east of Colter . |
| Emmet Granger | New Hanover (Flatneck Station farm) | Southeast of Valentine near Flat Iron Lake . |
| Billy Midnight | Lemoyne (Rhodes station) | Train station south of Bolger Glade; board rear cars . |
| Black Belle | Lemoyne (Bluewater Marsh) | Swamp cabin north of Saint Denis . |
Black Belle’s shack sits in Bluewater Marsh swamps north of Saint Denis. Slim Grant’s marker activates later in Annesburg (northeast Roanoke Ridge), leading to a bandit camp west of town. Inspect photos in your satchel’s Documents tab to reveal these icons after starting in Valentine saloon.
Show exact map coordinates for each Gunslinger location
Red Dead Redemption 2 does not use numerical map coordinates like X,Y or latitude/longitude for in-game locations; instead, it features a grid overlay visible when zooming in on the map, but guides rarely cite exact grid numbers due to their variability with zoom levels and player position. Locations are best pinpointed by landmarks and regions as marked after inspecting the photos in your satchel. Use the detailed descriptions below, drawn from prior guides, to navigate precisely.
Gunslinger Grid and Landmark Details
| Gunslinger | Region | Landmark/Grid Approximation |
|---|---|---|
| Flaco Hernandez | Ambarino (Cairn Lake) | Southeast of Colter; grid near northwest map edge by frozen lake camp (zoom to see ~grid A1/B1) . |
| Emmet Granger | New Hanover | Pig farm southeast of Flatneck Station/Valentine; south Heartlands near Flat Iron Lake (~grid D5/E5) . |
| Billy Midnight | Lemoyne | Rhodes train station south of Bolger Glade; board train there (~grid F7/G7) . |
| Black Belle | Lemoyne (Bluewater Marsh) | Swamp shack north of Saint Denis (~grid H8) . |
| Slim Grant | Roanoke Ridge | Bandit camp west of Annesburg (~grid H3/I3); marker appears post-Chapter 4 . |
To view grids yourself, open the map, zoom maximally into the area next to your marker, and note the alphanumeric labels for precise navigation. These align with standard RDR2 map layouts from Rockstar Games’ world design.