In the unforgiving world of Elden Ring: Shadow of the Erdtree, a new game-changer has emerged: the Deflecting Hardtear. This powerful crystal tear introduces a Sekiro-inspired parry mechanic, allowing players to masterfully deflect attacks with precision timing, significantly reducing damage and stamina loss. But how does it work, and what strategies can you use to maximize its potential in the most challenging encounters? Dive into the world of perfect blocks and discover how this innovative tool can revolutionize your gameplay.
Deflecting Hardtear is a new crystal tear introduced inShadow of the Erdtree. Like other tears, you can brew a Flask of Wondrous Physick with it to gain a specific, powerful buff. This particular tear expands your moveset with an additional ability that drastically changes the gameplay and can make it much easier once you get used to it. On this page, we described where to find the Deflecting Hardtear and how it works.
How to get the Deflecting Hardtear?
To obtain the Deflecting Hardtear in Elden Ring: Shadow of the Erdtree, you need to defeat the Furnace Golem located in the Gravesite Plain. This enemy is easily accessible early in the DLC. To defeat it, focus on attacking its feet until it stumbles, allowing you to land a critical hit. Once defeated, the Furnace Golem will drop the Deflecting Hardtear, which can then be mixed into your Flask of Wondrous Physick at a nearby Site of Grace to enhance your defensive capabilities.
All of the new crystal tears introduced in the DLC are dropped by Furnace Golems encounterd in various areas. This particular tear is dropped by a golem in the Gravesite Plain, near the Scorched Ruins – this will probably be the first golem you’ll encounter in the game. Before killing him, you should collect some Scadutree Fragments, which should make the fight easier.
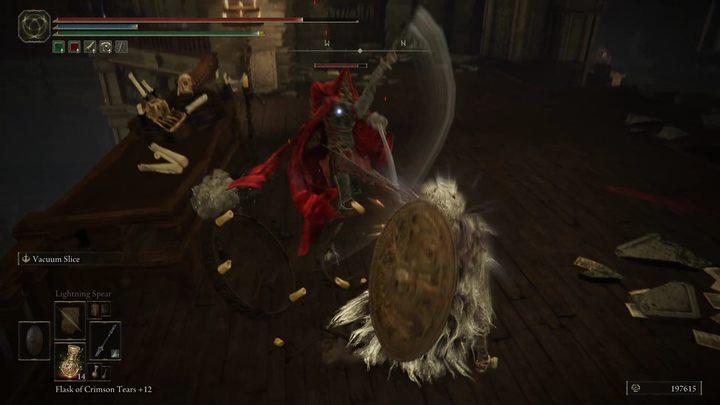
How to use the Deflecting Hardtear?
To use the Deflecting Hardtear effectively in Elden Ring: Shadow of the Erdtree, you need to mix it into your Flask of Wondrous Physick. This crystal tear enhances your spontaneous guard, allowing you to block attacks with significantly reduced stamina loss and no health damage if timed perfectly, similar to a parry in Sekiro. Successfully executing a spontaneous guard also boosts your Guard Counter damage by 20%, which can stack up to four times for an 80% increase. This mechanic works well with fast weapons and shields, enabling aggressive playstyles by allowing you to counterattack more effectively after a successful block. The effect lasts for five minutes, making it ideal for boss encounters and challenging fights.
Deflecting Hardtear’s effect lasts for five minutes after drinking the potion – so it is most useful during boss fights than during exploration. The tear slightly modifies your block, increasing damage reduction, poise, and the power of counterattacks after blocking.
In practice, this means that the player gains a parry skill similar to that of Sekiro or Lies of P.Pressing the block button right before getting hit parries the attack and you will not take any damage. After parrying the attack, you can counterattack, reducing the enemy’s poise faster.
With the Deflecting Hardtear, you can be more aggressive, keep up with your enemies, and find more opportunities to attack. You don’t have to use a shield either, because a well-timed parry will fully block the damage you receive. This will give you more freedom in choosing your equipment.
What are the best strategies to use the Deflecting Hardtear in boss fights
Using the Deflecting Hardtear effectively in boss fights in Elden Ring: Shadow of the Erdtree requires a combination of strategy and timing. Here are some of the best strategies to maximize its potential:
1. Mastering the Timing
-
Perfect Block Timing: The Deflecting Hardtear works similarly to a parry in Sekiro, requiring precise timing to block attacks. Practice blocking just as an attack lands to negate damage and reduce stamina loss.
-
Hold the Block Button: Unlike a traditional parry, you need to hold the block button for an instant longer to ensure a successful deflection.
2. Building Guard Counter Stacks
-
Stacking Deflections: Each successful deflection increases the damage of your next Guard Counter by 20%, up to a maximum of 80% after four deflections.
-
Resetting Stacks: Stacks reset after about 5 seconds of not deflecting, so maintain a rhythm of deflections to keep the bonus active.
3. Choosing the Right Equipment
-
High Damage Weapons: Combine the Deflecting Hardtear with weapons that inflict status effects like bleed or high poise damage to maximize Guard Counter effectiveness.
-
Shields and Talismans: Use shields with high block values or talismans like the Curved Sword Talisman to enhance Guard Counters further.
4. Adapting to Boss Patterns
-
Learn Attack Patterns: Understand the attack patterns of bosses to anticipate and time your blocks effectively.
-
Counterattack Opportunities: Use the empowered Guard Counter to deal significant damage after successful deflections.
5. Combining with Other Strategies
-
Mobility and Positioning: Don’t rely solely on blocking; use dodges and rolls to maintain mobility and avoid attacks that are difficult to deflect.
-
Team Play (if applicable): In co-op, coordinate with teammates to create openings for Guard Counters after successful deflections.
By integrating these strategies, you can turn the Deflecting Hardtear into a powerful tool for dominating even the toughest boss fights in Elden Ring: Shadow of the Erdtree.
What are the best weapons to pair with the Deflecting Hardtear
Pairing the Deflecting Hardtear with the right weapons can significantly enhance your gameplay in Elden Ring: Shadow of the Erdtree. Here are some of the best weapons to consider:
1. Colossal Weapons
-
Black Seal Great Hammer: This weapon is highly effective due to its excellent stagger value, allowing you to break stances quickly with powerful Guard Counters.
-
Black Steel Greathammer: Offers a special attack when guard countering, making it a great choice for maximizing damage output.
2. Bleed-Inflicting Weapons
-
Blood-infused Backhand Blades: These weapons inflict bleed, which can lead to consistent damage over time when combined with the increased Guard Counter damage from the Deflecting Hardtear.
3. High Poise-Damage Weapons
-
Greatsword of Solitude: While not specifically mentioned for bleed, its high physical block value makes it suitable for two-handed playstyles, especially when paired with the Two-Handed Sword Talisman.
4. Versatile Options
-
Twinblades or Claws: These can be used for fast, aggressive playstyles, taking advantage of the tear’s ability to enhance guard counters even with low-defense weapons.
When choosing a weapon, consider your playstyle and the type of enemies you face. Combining these weapons with talismans like the Curved Sword Talisman or Two-Handed Sword Talisman can further enhance your Guard Counter damage and overall effectiveness.