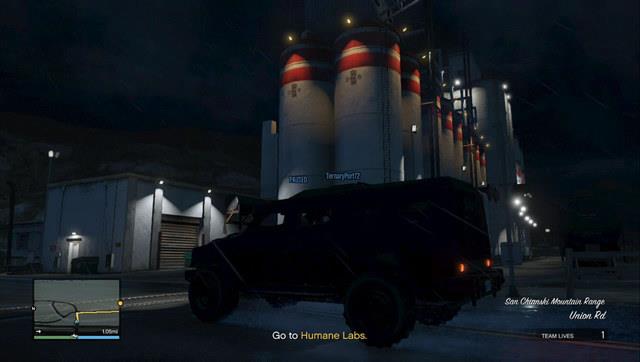
In the high-stakes world of GTA Online, the Humane Labs Raid stands as one of the most thrilling and challenging heists, requiring precision teamwork and strategic planning. This adrenaline-fueled mission demands a well-coordinated four-player team to infiltrate the heavily guarded Humane Labs facility, steal classified data, and escape unscathed. With its intricate setup missions and intense finale, the Humane Labs Raid offers a true test of skill and teamwork, promising substantial rewards for those who dare to take on the challenge.
Key Codes
Eliminate all of the FIB agents
The first preparatory mission. Reach the marked spot (the garage) as the entire crew. It is a good idea to take a bigger car along (or even a van) and park it in the center of the area, because you cannot move cars that are already there. Two players remain on the ground level, one of them climbs the rooftop and another one goes onto the fire escape in the building – depending on the assigned roles. Hold your positions, for a moment, up until a black car arrives. After you receive the codes from the men, you will be surrounded by the FIB. Have one of the players on the ground, and from the balcony cover the backstreet, whereas the ones in the garage and on the rooftop attack the agents in the street. You should be able to deal with them quickly. Note the agents that arrive later in the backstreet. As soon as you eliminate all, reinforcements will arrive, but you are ready to escape, at that point. Escape to the getaway point, preferably by twos in each car, or all of you, so you can fight back the pursuit. After you get to the destination, the mission ends.
Insurgents
You will encounter insurgents many time, throughout the game – get to know them
In the second mission, divided into two teams, het to the quandary. Use sniper rifles to eliminate everyone in sight, deal with the rest at close quarters. Have two teams enter two insurgents, one of them is heavily armored. The player that mans the turret and rockets has the most important job to do, of covering all the crew from the choppers and then, from the armored cars. Drive to the destination. After you get there, eliminate the rest of the agents in the pursuit.
EMP

You can see the vessel from afar
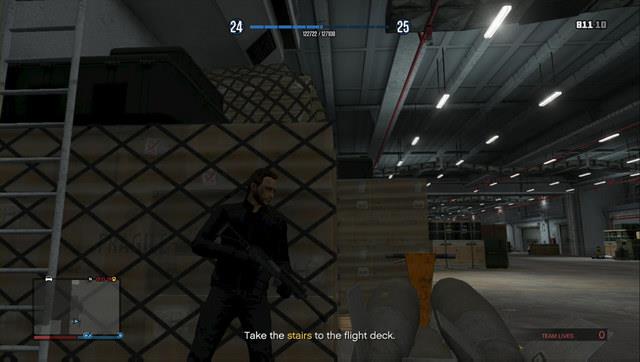
In this mission, everyone should know how to handle planes. Often, the mission ends in a failure, when one of the players fails to do his job. First, get to the meeting point – there, you find a motorboat. Go aboard and get to the aircraft carrier out in the sea. Steer inside and get off the boat.
Use cover and, if you are short of health, blind-shoot
Inside, deal with everything that moves and watch out for the guards on the stairs. Climb the stairs and get outside, through the “Exit” door. There, after you deal with the numerous armed forces, steal the planes. The one with the best piloting skills takes the Hydra.
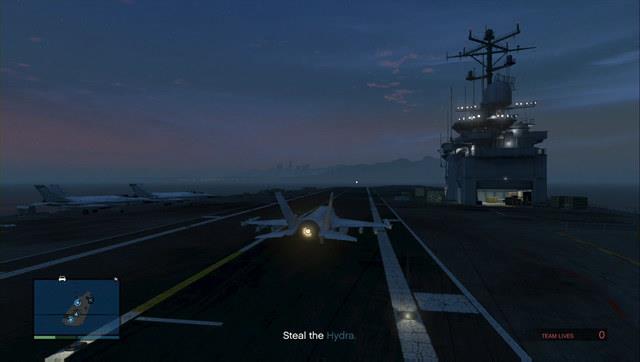
If you do not do that well, as a pilot, have someone else fly the Hydra
Your next task is to cover the Hydra and protect it against the multitude of fighter planes. They do not attack the individual players and they only focus on the Hydra. Use homing missiles and eliminate the targets quickly. You now need to deliver the plane to the airport – in spite of the description in the escorting mission, you will not be bothered anymore.
Hint: the worst case scenario is when someone fails to do their job aboard the vessel. In corners, on stairs and in small rooms, you often find a first-aid kit and armor. It is a good thing to remember about that.
Valkyrie
The next mission is to get the Valkyrie chopper. As one team, reach the Southern docks. It is a good idea to act systematically and at a long range – use sniper rifles and shotguns, and do not allow a situation, in which only one player keeps the things going. You will be attacked by a chopper – it is best to use a homing missile or, in an extreme situation, fire all at once, at the vehicle, and try to kill the pilot. Before you get to the helicopter, you still need to eliminate an enemy sniper. After you have taken the Valkyrie and gone up into the air, you do not avoid the pursuit. Fortunately, one of the players will be able to use the on-board weaponry. Finally, after you reach the destination, and landed, the mission ends.
Deliver EMP
Park the car in the marked area and get ready for some action
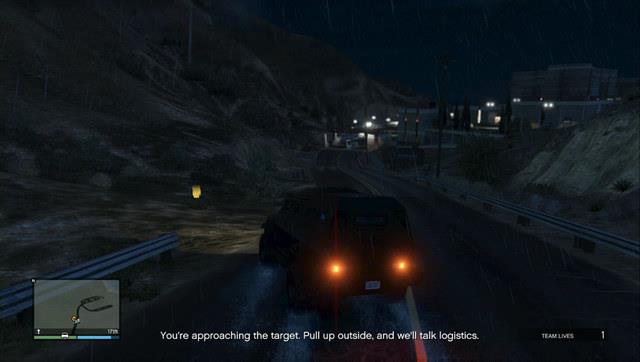
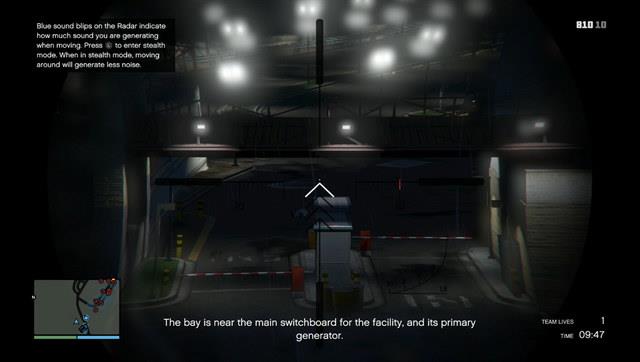
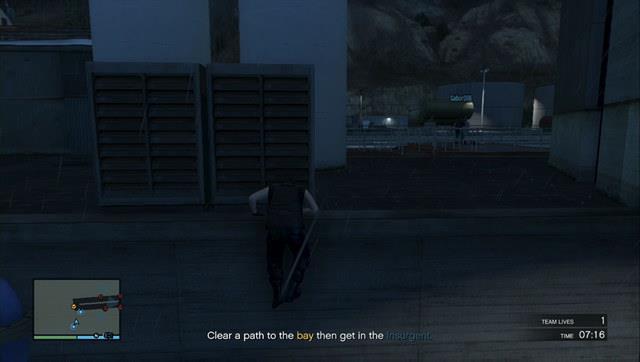
Again, there are no clear-cut roles in this mission. Reach the Northern part of the lake in the desert, where you find the military SUV. Drive the entire crew to the lab. Here, the game save automatically and the real plight starts. You need to deal with all the guards but, make sure that nobody spots a corpse or hear gunshots. After the alarm starts, the mission ends.
Take down the first two with another player
Start by taking out the two guards with sniper rifles (each one receives a suppressed one) at the main gate and follow the path to the parking lot, where there are no guards. Have one of the players drive the SUV there.
Towards the end of the building, you find a spot where you can climb.
Wait for the enemy vehicle to leave the base and climb up the stairs, to the rooftop. Also, you can climb onto the extension, past the yellow “8” painted onto the side. Many of the of the guards, and scientists wearing white garments, come in groups. The key to complete this mission properly is to eliminate the targets quickly and simultaneously.
Keep an eye on the people that may spot the corpses and deal, in the first place, with the one that will not be seen. Although you only have 10 minutes, you do not need to hurry with completing the mission. Where there are group of three opponents, it is best to position yourself at a n angle and take down two of them in a single shot – this is permissible. After you have eliminate all opponents, use the control panel to open the garage – this requires you to complete a simple minigame – and drive inside on the SUV. Leave the base on the Humane Labs vehicle, nobody will then pay attention to you, as long as you keep quiet. .
Hint: the mission is nearly impossible, if you do not harmonize with the rest of the crew, especially if you are playing with random people. In practice, the mission requires that you have headsets for voice communication and that you determine who does which part. Actually, it is enough that two players complete the part of the mission.
Humane Labs heist
Default income: 540 000$
Special objectives:
- Complete the mission within 11:00 minutes,
- Vehicle damage below 2%,
- All survive.
IN this heist, you operate in two groups: the pilot, the gunman on the chopper and a team of silent assassins inside the lab. First, get to the chopper in the Northern part of the lake to the North. After you all get onboard, fly to and hover over the lab – there, the EMP charge, which you have supplied earlier, goes off. It disables power supply, which makes the ground team use night vision. You do not need to keep quiet – walk inside, by blowing up the main door eliminate the opponents in the corridor and follow the marker. The best weapon here is the shotgun, due to the short distances. Once there, you get to another door – you cannot blow up this one. To open it, you need to press the button, on both sides, simultaneously – this is why voice communication is required, from one of the players, at least.
Exit the building and head towards the ocean. Put on the diving suits and swim down the tunnel, as quickly as possible, because you soon run out of air. Once there, you will be collected by a helicopter – you can use flares to help the pilot find the landing spot. As soon as the ground team is onboard, the assistant pilot will be able to do his job – he now needs to eliminate the incoming enemy Buzzards.
What are the key challenges in the Humane Labs Raid setup missions
The setup missions for the Humane Labs Raid in GTA Online present several key challenges that demand teamwork, precision, and strategy. Here’s an overview of the most significant hurdles:
-
Key Codes Setup: Players must handle a meeting with an IAA agent while lookout teams provide cover. The mission quickly escalates when FBI agents ambush the team, requiring swift combat skills to eliminate enemies and escape pursuit with the key codes.
-
Insurgents Setup: Stealing two heavily armored Insurgent vehicles from Merryweather at the Davis Quartz Quarry is a major challenge due to the high number of skilled guards. Players need to use sniper rifles from high ground to clear enemies before retrieving the vehicles, all while avoiding heavy fire.
-
Valkyrie Setup: Securing the Valkyrie helicopter involves battling a mix of ground enemies, snipers, and air support. Players must systematically clear enemies and take down a Buzzard attack helicopter quickly to avoid being overwhelmed.
-
Deliver EMP Setup: This stealth mission is particularly difficult as any detection results in immediate failure. Players must eliminate guards in pairs using silenced weapons, navigate security cameras, and complete tasks within a strict 10-minute timer.
Each mission demands precise coordination and communication among team members to overcome these obstacles effectively.
What are the most common mistakes players make during the Humane Labs Raid setup missions
Players often make critical mistakes during the Humane Labs Raid setup missions, which can lead to repeated failures. Here are the most common errors:
-
Key Codes Setup:
-
Poor positioning of Lookouts, leaving them unable to provide effective cover during the FIB ambush.
-
Lack of coordination between Buyer and Bodyguard, resulting in vulnerability during the exchange.
-
-
Insurgents Setup:
-
Rushing into the quarry without clearing Merryweather guards from a safe distance, leading to overwhelming enemy fire.
-
Failure to use sniper rifles effectively, exposing the team to heavy resistance.
-
-
Valkyrie Setup:
-
Underestimating enemy snipers and air support, causing unnecessary casualties.
-
Advancing too quickly without clearing enemies thoroughly, triggering attacks from a Buzzard helicopter.
-
-
Deliver EMP Setup:
-
Using unsilenced weapons or failing stealth movements, which immediately alerts guards and scientists, ending the mission.
-
Poor timing and communication during synchronized takedowns, leading to detection.
-
Mismanagement of the strict 10-minute timer, causing failure due to delays.
-
Avoiding these mistakes requires strong teamwork, communication, and adherence to mission-specific strategies.