As you prepare to infiltrate the ominous Moonrise Towers in Baldur’s Gate 3, brace yourself for a thrilling adventure filled with peril and intrigue. This pivotal quest marks your entry into the Shadow-Cursed Lands, where the shadows themselves seem to conspire against you. Armed with essential torches to combat the encroaching darkness and accompanied by allies both familiar and enigmatic, you’ll navigate treacherous paths, face formidable foes, and uncover secrets that could alter the fate of your party. Will you emerge victorious, or will the shadows claim you as their own? Dive into our comprehensive walkthrough to ensure your success in this epic confrontation.
Allying with Jaheira
In the quest to infiltrate Moonrise Towers in Baldur’s Gate 3, allying with Jaheira is a pivotal moment that can significantly influence the outcome of your assault. As a seasoned Harper and a key ally, Jaheira provides invaluable support and guidance throughout the mission. Upon reaching the towers, she encourages players to engage strategically, emphasizing the importance of teamwork against the cultists and their formidable leaders. Her experience in navigating such treacherous encounters allows players to make informed decisions, whether to confront enemies head-on or seek alternative paths. Collaborating with Jaheira not only enhances combat effectiveness but also enriches the narrative, as her character brings depth and historical context to the unfolding events within the Shadow-Cursed Lands.
After searching the Gauntlet of Shar and finding the Nightsong, it’s finally time to defeat Thorm and the Cult of the Absolute. After leaving the temple, talk to Shadowheart if she’s in your party. Return to camp and take a long rest. Next, fast travel to Moonrise Towers and talk to Jaheira.

It’s time for a battle. If you’ve failed to protect Isobel, you’ll be on your own, making it even tougher. Jaheira will join your party, being of great help.
If you have the Harpers with you, the fight should be manageable. If it’s just Jaheira, you’ll need to use all the tricks up your sleeve to prevail. Use oils, scrolls and grenades. Wild Shape always fully restores Jaheira’s health, making her a really good tank. Focus on Z’rell, then on the sharpshooters on the wooden beams above. If you’ve helped the gnolls in a side quest, they’ll fight at your side.
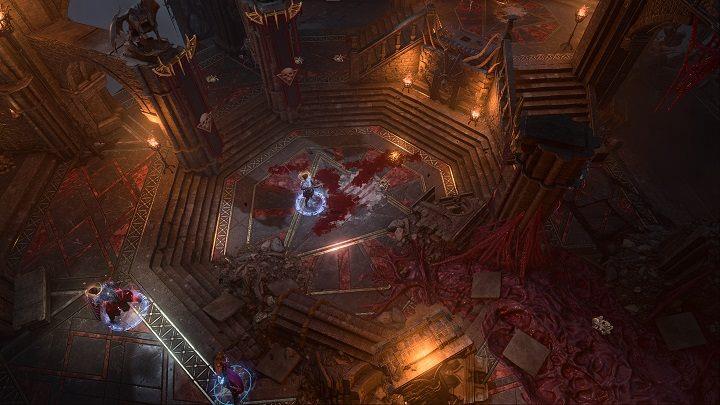
After the battle, talk to your allies and go upstairs, triggering another battle. Eliminate the enemy spellcaster first. If you’ve failed to protect Isobel, there’ll be another enemy here too. After beating them, go up to the roof.
Fighting Ketheric Thorm
Facing Ketheric Thorm in Baldur’s Gate 3 is a pivotal moment that tests players’ strategic skills and adaptability. This two-phase boss fight begins after navigating the treacherous Moonrise Towers, where players confront a weakened Ketheric, who has lost his invulnerability upon the rescue of the Nightsong. During the first phase, players must manage Ketheric’s summons, including Necrolytes, while focusing on freeing Dame Aylin to bolster their damage output. As Ketheric’s health drops to 40%, a cutscene transitions to the second phase, where he transforms into the Apostle of Myrkul, escalating the challenge significantly. Effective use of area-of-effect spells and careful management of party resources are crucial for overcoming this formidable foe and progressing through Act 2.

You’ll face Thorm in a cutscene – you can try to convince him you’ll show mercy, or attack outright. This choice may matter later on. Defeat Thorm’s minions. The leader will escape once his health gets low enough. After the cutscene, finish the fight.
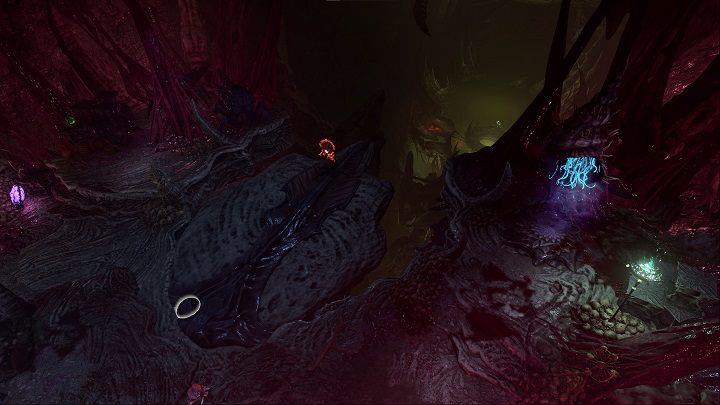
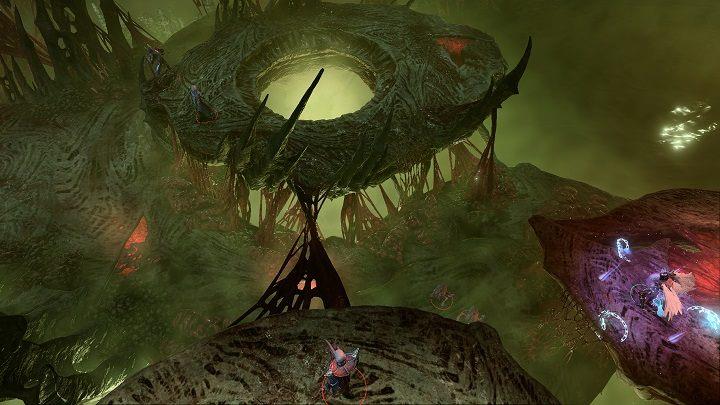
Search the corpses and enter the hollow tower. This will take you to the Mind Flayer Colony.
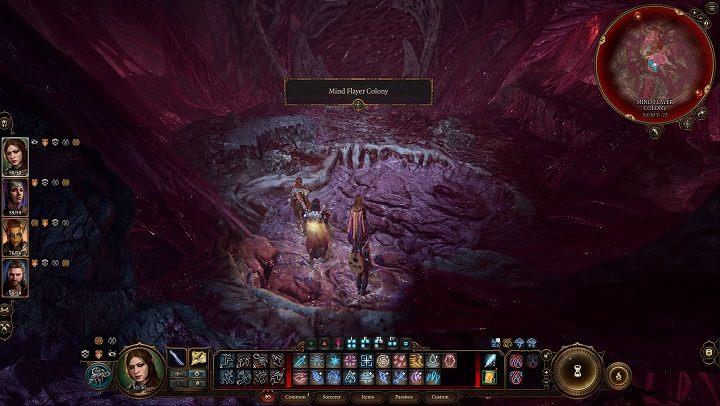
As you make your way through it, you’ll eventually reach an elevator, leading to the final battle against Thorm.
Descend atop the elevator and walk through the gate – this triggers a cutscene and a conversation with Thorm. If you thoroughly examined his room, tried to show him mercy and saved Isobel, you can convince him to surrender. This skips the entire first phase of the fight.
Otherwise, prepare for a challenege – Ketheric is immortal as long as Aylin is contained. Your primary objective is to save her and eliminate Thorm’s minions.
The boss himself isn’t too threatening at first. Kill the Mind Flayer before helping Aylin, as it can dominate her and bring her to its side. After killing the Mind Flayer, take down the remaining minions and Thorm himself.

Defeating him triggers a cutscene and starts the second phase. You’ll face the Apostle of Myrkul, resistant to cold, poison and necrotic damage. Casting Haste on your primary damage dealer should burst him down quickly.
End of Act 2
As players reach the End of Act 2 in Baldur’s Gate 3, the tension escalates significantly. The party faces formidable challenges as they prepare to assault the Moonrise Towers, a key stronghold of the Shadow Curse. This act culminates in intense battles and critical decisions that will shape the fate of their quest. Players must navigate intricate dialogues and strategic combat, all while managing their party’s dynamics and resources. The stakes are higher than ever, setting the stage for the climactic events that follow in Act 3.
Defeating the Apostle triggers a cutscene. You’ll speak to the Dream Visitor and leave the area with a new objective – head to Baldur’s Gate, kill Gortash and Orin, then take their Netherstones binding the crown.

What are the key challenges when infiltrating Moonrise Towers
Infiltrating Moonrise Towers in Baldur’s Gate 3 presents several key challenges that players must navigate to succeed in this perilous quest:
- Shadow Curse: The area surrounding Moonrise Towers is afflicted by a debilitating Shadow Curse that can severely harm characters. Players must equip torches or find a Moonlantern to illuminate the path and protect themselves from this curse, making light sources essential for survival.
- Stealth and Combat Strategy: Engaging with the numerous enemies, including cultists and zealots, requires careful planning. Players can choose to eliminate guards stealthily or engage them in direct combat. However, initiating a fight can quickly escalate into overwhelming odds, especially with the presence of powerful spellcasters and the risk of alerting nearby enemies.
- Critical Decisions: Throughout the infiltration, players face pivotal choices that can affect the narrative and outcomes of encounters. For instance, deciding whether to side with the Harpers or maintain cover as a True Soul can lead to different resources and allies being available for the assault.
- Environmental Hazards: The layout of Moonrise Towers includes various environmental dangers, such as Scrying Eyes that can alert other NPCs to your presence if they witness combat. Players must be strategic about positioning and timing their attacks to avoid being overwhelmed by reinforcements.
- Companion Survival: Keeping allies like Jaheira and the Harpers alive during battles is crucial, but they often struggle against AI-controlled enemies that utilize powerful spells effectively. Players need to manage their party’s actions carefully to ensure their survival amidst chaotic encounters.
Successfully navigating these challenges requires a blend of tactical combat, strategic resource management, and thoughtful decision-making as you delve deeper into the mysteries of Moonrise Towers.
What strategies can I use to defeat the Zealot guards at Moonrise Towers
To effectively defeat the Zealot guards at Moonrise Towers in Baldur’s Gate 3, consider employing the following strategies:
- Stealth and Ambush: Begin by eliminating guards one by one using stealth. Position your rogue or a character with high stealth skills to sneak up on isolated enemies, allowing for sneak attacks that can take them out before they alert others. Utilize the environment to hide and create ambush points, especially near doorways or corners where guards patrol.
- Use of Area of Effect (AoE) Spells: The presence of multiple enemies makes AoE spells particularly effective. Spells like Thunderwave or Shatter can damage multiple foes at once, thinning their ranks significantly before they can retaliate. This is especially useful against groups of Zealots and Adepts who tend to cluster together.
- Control the Battlefield: Spells that create difficult terrain or control effects, such as Hunger of Hadar, can slow down enemy movements and disrupt their formation. This allows your party to manage the flow of battle more effectively, forcing enemies to navigate around hazardous areas.
- Target Spellcasters First: Focus on eliminating enemy spellcasters like Adepts before dealing with melee fighters. They pose a significant threat with their powerful spells and can turn the tide of battle quickly if left unchecked. Use ranged attacks or spells to take them out from a distance.
- Divide and Conquer: Lure guards away from groups by provoking them into chasing you into a more advantageous position, such as a narrow corridor or room where you can isolate them. This tactic minimizes the number of enemies you face at once and allows for easier management of combat.
- Utilize Height Advantage: If possible, gain a height advantage by moving to elevated positions where archers can deal damage without being easily targeted in return. Use abilities like Misty Step to quickly reposition your characters for tactical advantages.
- Healing and Buffing: Ensure your party is well-prepared with healing spells and buffs before engaging in combat. Spells that enhance defenses or provide temporary hit points can make a significant difference in survivability during tough encounters.
- Manage Resources: Keep an eye on your spell slots and healing items throughout the encounter. If you find yourself running low, consider retreating temporarily to regroup and heal before re-engaging.
By combining these strategies, players can effectively manage the challenges posed by the Zealot guards at Moonrise Towers, ensuring a higher chance of success in this intense battle scenario.