Facing the Sha’Hala: Spectral Guardian of N’Erud in Remnant 2 is no small feat. This colossal boss, lurking in the shadows of Sentinel’s Keep, wields devastating attacks that can turn the tide of battle in an instant. Players must master the art of dodging and timing to expose its weak spot—the ominous orb at its center—while navigating a chaotic arena filled with deadly projectiles and gravitational pulls. In this guide, we’ll unravel effective strategies to conquer this formidable foe, ensuring you emerge victorious and claim your well-deserved rewards. Prepare yourself for an epic showdown!
Sha’Hala: Spectral Guardian of N’Erud – boss description
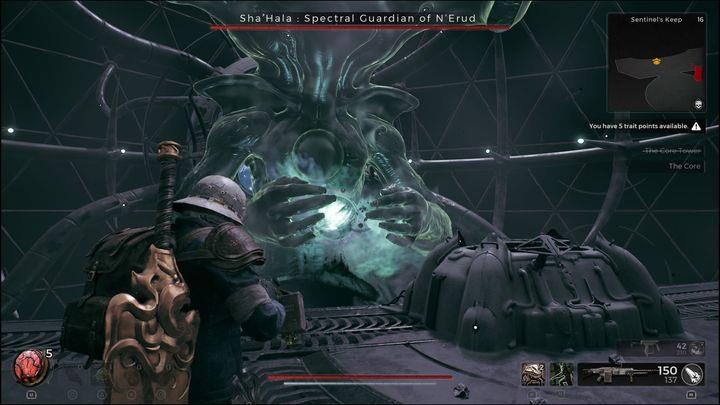
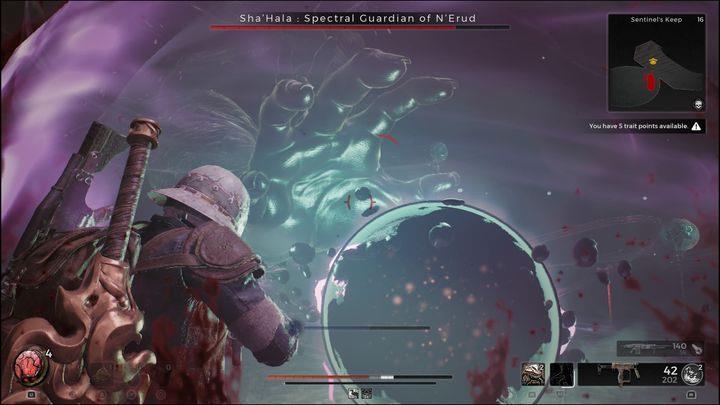
Sha’Hala: Spectral Guardian of N’Erud is a formidable boss in Remnant 2, known for its immense size and powerful gravity-manipulating abilities. Encountered in the Sentinel’s Keep during the game’s storyline, Sha’Hala wields a giant orb that serves as both its weapon and weak point. Players must navigate a challenging array of attacks, including laser beams and vortexes, while focusing on damaging the orb whenever it becomes exposed. The battle requires strategic dodging and timing, particularly during phases when the arena darkens, signaling an opportunity to strike back effectively. Defeating Sha’Hala not only rewards players with valuable materials but also marks a significant achievement in their journey through the game.
Sha’Hala: Spectral Guardian of N’Erud is a gigantic main boss. It can manipulate gravity and fire lasers which are near-certain to hit the players.
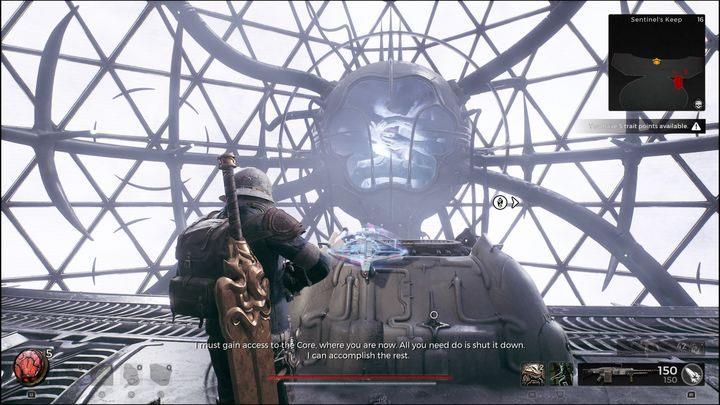
Its weak spot is the orb it often holds in its hands. The fight is very difficult and requires proper preparation.
Moveset
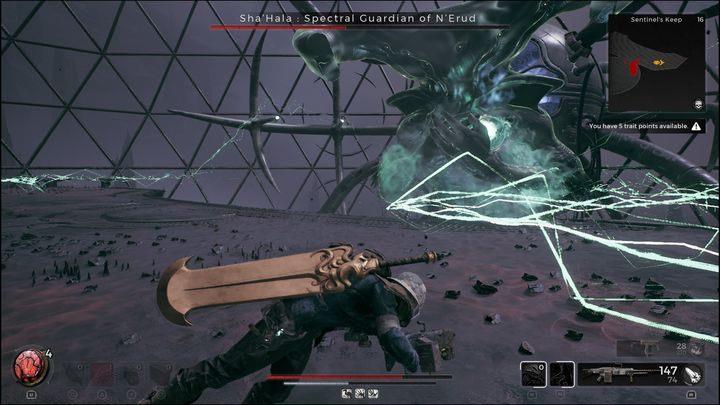
Sha’Hala, the Spectral Guardian of N’Erud, employs a diverse and challenging moveset that players must navigate to succeed in battle. Its primary attack involves Hand Beams, where smaller hands emerge to shoot damaging purple beams at the player, requiring precise dodging due to a brief casting delay. The boss can also summon Homing Orbs, which are green projectiles that seek out players and can be destroyed for ammo replenishment. Another significant attack is Diagonal Lightning, where Sha’Hala unleashes lightning strikes in random patterns, inflicting substantial damage if players fail to evade. During its Black Hole phase, the arena darkens, and Sha’Hala targets players with a gravity sphere that pulls them in while dealing damage. This phase offers a critical opportunity to attack its weak spot—the central orb—once it is revealed after the black hole attack concludes. Understanding these attacks and their patterns is essential for effectively countering Sha’Hala and achieving victory in this intense encounter.
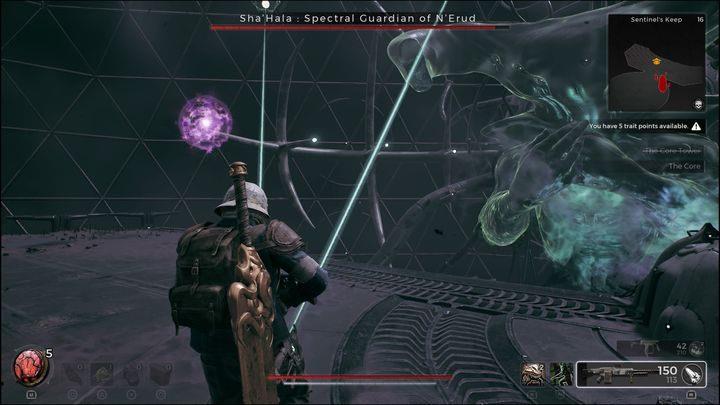
- Summoning lasers – the boss surrounds itself with a purple barrier and summons eyes shooting laser beams. There are many of them and they’re rather hard to avoid.
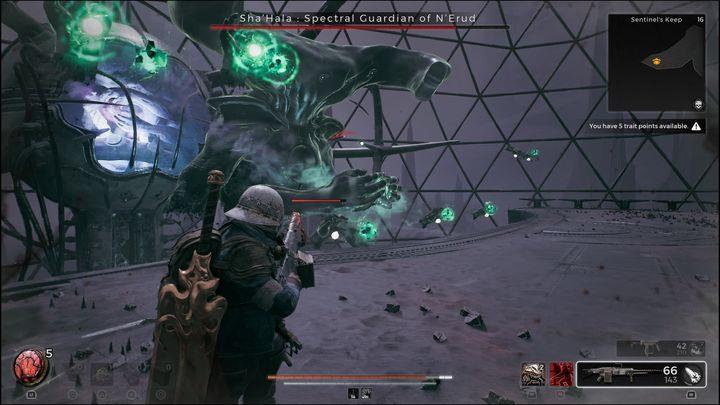
- Projectiles – if, instead of purple lasers you see small green-glowing hands, it means the boss is about fire green orbs at you. These can be destroyed.
- Lights out – Sha’hala shrouds the entire arena in darkness. It then starts spawning green orbs and giant hands from beneath the arena.
- Gravity sphere – some time after darkening the arena, the boss will slam down the hand holding a massive gravity sphere. It attracts players closer and deals damage.
- Lightning bolts – occasionally the boss creates green lightning bolts, that take a short moment to fully materialize and only deal damage once they do.
- Hands – while the arena is dark, damaging hands emerge from the ground.
How to fight Sha’Hala: Spectral Guardian of N’Erud?
To effectively fight Sha’Hala: Spectral Guardian of N’Erud, players must adopt a strategic approach that focuses on both offense and defense. The key to victory lies in targeting the central orb, which serves as Sha’Hala’s weak spot, while remaining vigilant against its diverse attacks. During the fight, Sha’Hala will alternate between phases where it directly confronts players and moments of darkness, summoning dangerous projectiles and hands that deal damage. Players should prioritize dodging the Homing Orbs and Diagonal Lightning attacks, while using heavy weapons to strike the orb when it is exposed. Additionally, during the “lights out” phase, players should anticipate the Black Hole attack as an opportunity to deal significant damage before retreating to safety. Proper preparation with suitable armor and consumables is essential for surviving this challenging encounter.
You need to properly prepare to thisfight. You won’t be able to avoid all of its attacks, especially the small lasers. They don’t hurt much, but the chip damage quickly adds up. During this fight, we recommend focusing on defense rather than damage. You need survivability and damage over time.
Light armor isn’t a good choice, as defense matters more than dodging in this battle. Consider wearing at least medium armor. As for rings, we recommend damage reduction, such as Hardened Coil, and health regeneration, such as Ring of Grace.
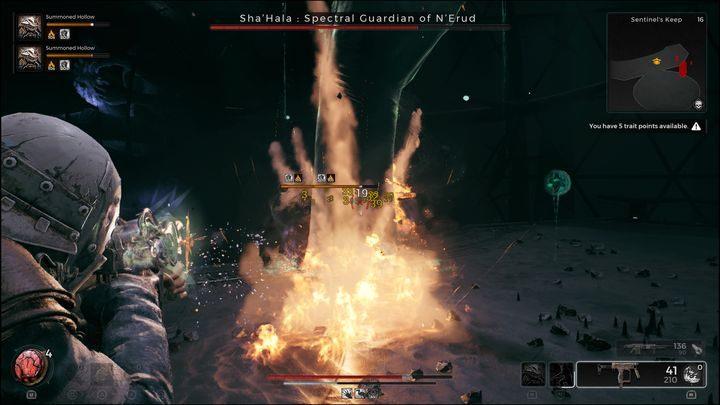
You should also bring weapons or mods inflictingdamage over time. One such example is Witchfire, which leaves fire on the ground. There’s not much point attacking like this at the start of the fight. Truth be told, the only good time to start firing away is when the arena is dark and giant hands are spawning. They don’t do much after emerging and attacking them hurts the boss.
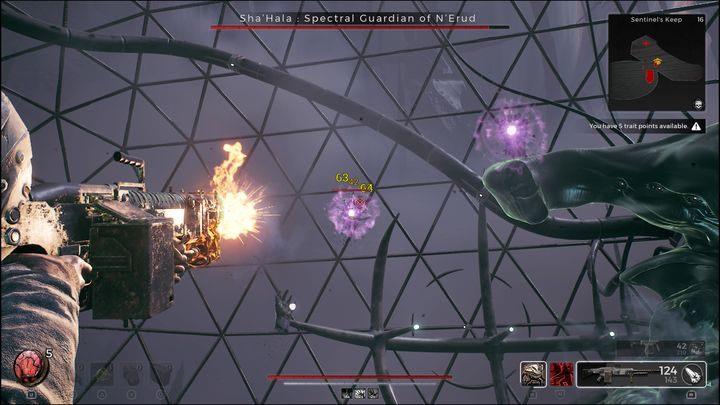
Don’t waste ammo on purple-glowing hands. You won’t destroy them and you won’t deal much damage either. You’ll be better off attacking the giant sphere protected by the boss.
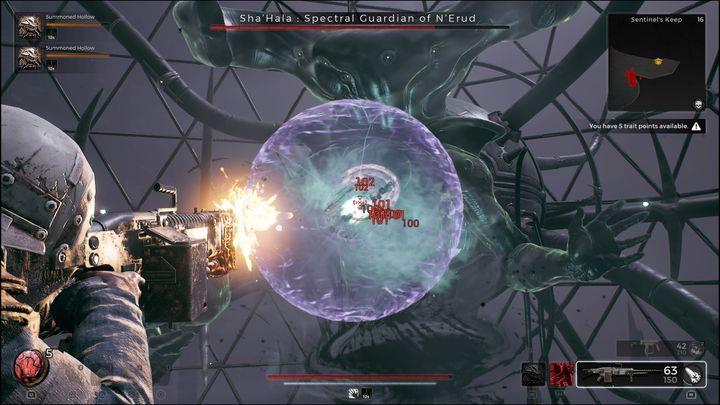
Occasionally, Sha’Hala will expose the orb. This is your best attacking opportunity, as the boss will take increased damage.
If Sha’Hala starts summoning green projectiles, stand at the edge of the arena and fire at the orbs closest to you. They’re slow and are frail, so destroying them is easier than dodging or tanking.
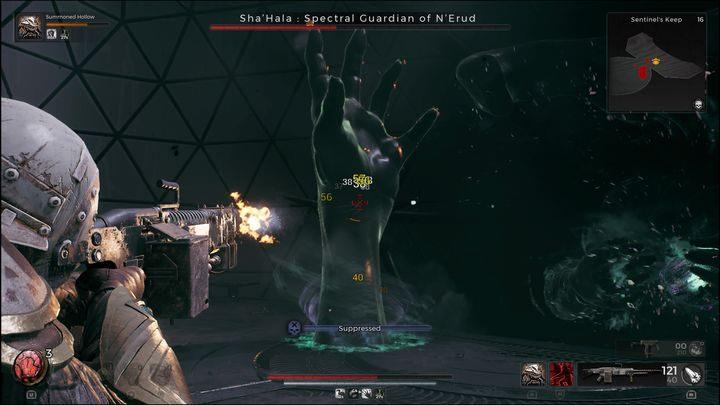
Don’t panic when the arena goes dark. Look at the floor and wait for a hand to emerge underneath you. Dodge (be careful, you don’t want to fall off the arena), then use a damage over time weapon. The best damage over time effect in this fight is fire.
When two or more hands are active, there’s a high chance Sha’Hala will emerge from the darkness and slam down its gravity sphere. This is a very dangerous attack, dealing massive damage and applying Suppression. If you dodge at the right moment, i.e. when the orb appears in the arena, you will have plenty of time to shoot it.
If you fail, quickly dodge away from the sphere twice or thrice to avoid damage. Don’t sprint away, as the sphere will be pullingyoucloser.
The lightning bolts don’t deal damage immediately – this serves as an attack tell. If they appear on you, move awayASAP, otherwise you’ll take damage. In the meantime, keep unloading on the sphere to cut the fight short.
Rewards
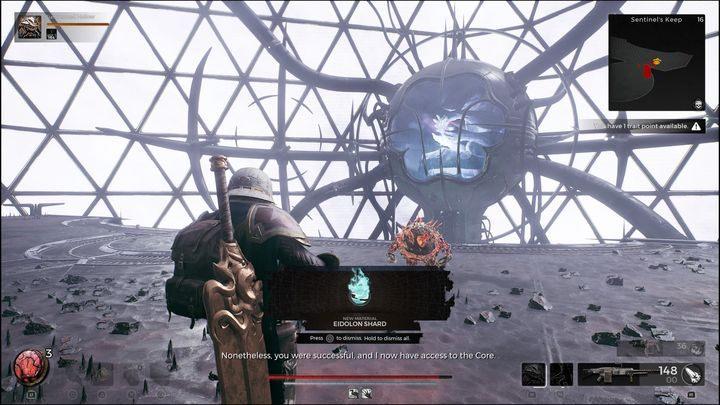
Defeating Sha’Hala: Spectral Guardian of N’Erud not only marks a significant achievement in Remnant 2, but it also rewards players with valuable loot essential for progression. Upon vanquishing this formidable foe, players can expect to receive an Eidolon Shard, Lumenite Crystals, and Scrap, which are crucial for crafting and upgrades. Additionally, players may obtain a Tome of Knowledge that enhances their abilities. If the Override Pin is used prior to the battle, the reward shifts to Void Cinder, a unique material for crafting powerful weapons, though this choice locks players out of revisiting N’Erud for further exploration and rewards.
Warning, if you’ve used the Override Pin and inserted it into the terminal before fighting Sha’Hala: Spectral Guardian of N’Erud, you’ll receive a different material for beating it but you don’t be able to revisitN’Erudeveragain.
Defeating Sha’Hala: Spectral Guardian of N’Erud rewards you with:
- Eidolon Shard (if you haven’t used the Override Pin),
- Void Cinder (if you used the Override Pin on the terminal before the boss fight),
- Lumenite Crystal x5,
- Tome of Knowledge,
- Scrap x750.
What are the best strategies to dodge Sha’Hala’s Homing Orbs
To effectively dodge Sha’Hala’s Homing Orbs during the intense battle in Remnant 2, consider the following strategies:
- Stay Mobile: Constant movement is crucial. The Homing Orbs will spawn around Sha’Hala and move slowly towards you, giving you ample time to react. Keep repositioning to avoid being cornered.
- Use Automatic Weapons: When the green orbs appear, switch to an automatic weapon. This allows you to quickly destroy the orbs before they reach you, minimizing damage taken.
- Positioning is Key: Stand at the edges of the arena when you anticipate the Homing Orbs’ attack. This positioning provides a clearer line of sight to target and eliminate orbs as they approach.
- Watch for Attack Cues: Pay attention to Sha’Hala’s attack patterns. The Homing Orbs have a distinct spawning animation, allowing you to prepare for their arrival. React promptly when you see them forming.
- Utilize Environmental Awareness: During the fight, especially when the arena darkens, be vigilant about your surroundings. Look for signs of the orbs’ trajectories and avoid standing directly in their paths.
By combining these strategies with effective weapon management and awareness of Sha’Hala’s attack cues, you can significantly reduce damage from the Homing Orbs and increase your chances of victory.
What are the best positions to take when Sha’Hala summons Homing Orbs
When facing Sha’Hala’s Homing Orbs in Remnant 2, positioning is crucial for avoiding damage and effectively countering the attack. Here are the best positions to take during this phase:
- Edge of the Arena: Position yourself at the far edges of the arena. This allows you to have a clear line of sight on the Homing Orbs as they spawn and move towards you, giving you ample time to react and shoot them down before they can reach you.
- Stay Away from the Center: Avoid standing in the center of the arena when the Homing Orbs are summoned. The center is often where Sha’Hala targets with its orb, and being there increases your risk of getting hit by both the orbs and other attacks.
- Watch for Patterns: Pay attention to the spawning patterns of the orbs. They will often come from specific directions, so positioning yourself to face those directions can help you shoot them down more efficiently.
- Utilize Cover: If available, use any environmental cover to shield yourself from other attacks while focusing on dodging or destroying the Homing Orbs. This can provide additional safety during chaotic moments.
- Mobility is Key: While maintaining your position, keep moving laterally to avoid getting trapped or overwhelmed by multiple orbs converging on your location. This constant movement makes it harder for the orbs to lock onto you.
By adopting these strategies, you can effectively manage Sha’Hala’s Homing Orbs and create opportunities to counterattack when the boss exposes its weak spot.