In the vast desert landscapes of Sandy Shores, Trevor Philips embarks on a thrilling adventure with the eccentric Cletus Ewing in the “Target Practice” mission of Grand Theft Auto V. This Strangers & Freaks side quest challenges players to test their sniper skills, aiming for satellite dishes, car tires, and coyotes. With precise objectives and a dash of humor, “Target Practice” offers a unique blend of action and strategy, making it a must-play for GTA enthusiasts seeking to hone their marksmanship and explore the quirky side of Los Santos’ outskirts.
Availability: Trevor
Location: You have to get to the house in Sandy Shores village, nearby the Trevor’s trailer (screen above). You meet here Cletus, who offers you taking part in a series of shooting tests.
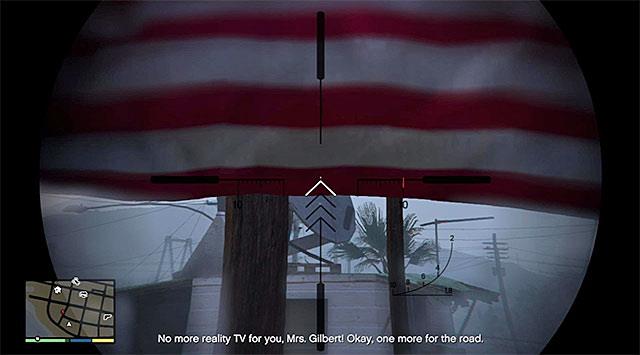
Take a sniper rifle from Cletus and head for a balcony from where you begin firing. The plan is to hit at three satellite dishes. The most problematic should be the one shown on the screen above, because it’s covered by the American flag.
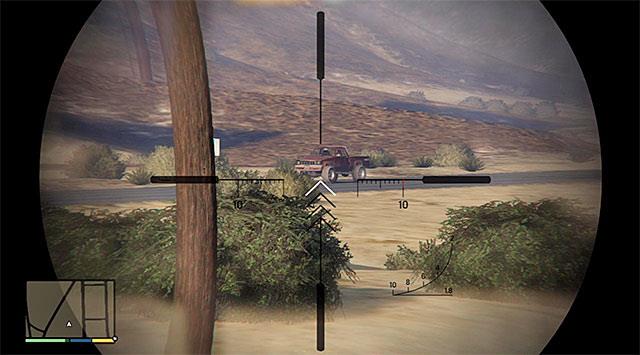
Enter random vehicle and ride with Cletus to the abandoned motel. Also here you have to reach a balcony and listen to the new objectives. This time, you have to hit tires of three cars passing you by. Remember that you’re firing only at the tires, and try to aim at vehicles which are placed under the good angle to your position (screen above) to make hits easier.
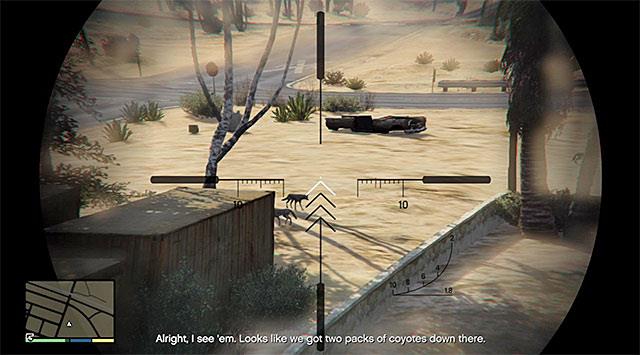
Use the fact that coyotes are unaware about the danger of Trevor’s presence
At the end, move to the motel’s roof. Ahead of you the last test in which you have to kill three coyotes. Noticeable fact is that if you want to complete this mission in 100%, you have to kill two coyotes with a single shot, so wait until they got in a straight line. This mission ends soon.
Reward for this mission:
- new person on Trevor’s contact list: Cletus
100% mission completion requirements:
- 2 for 1 – you have to kill two coyotes with a single shot. Wait until animals get in the line of fire and then pull the trigger.
- Pop! Pop! – you have to have at least 75% accuracy while firing at vehicles’ tires. Don’t hurry, wait for the good occasions.
- Bad Signal – you have to destroy all three satellite dishes without a miss.
What makes the “Bad Signal” objective so challenging
The “Bad Signal” mission in Call of Duty: Modern Warfare 3 Zombies is challenging for several reasons:
-
Teamwork Requirement: It is highly recommended to complete this mission with a team, ideally more than the standard three-man squad, as solo attempts can be extremely difficult.
-
Dark Aether Environment: Players are transported to the Dark Aether zone, which is a challenging environment filled with zombies and other threats. The zone requires players to be well-prepared with upgraded weapons and perks.
-
Seal Objectives: The mission involves activating and filling four seals by killing zombies near them. This process attracts more zombies, increasing the difficulty level.
-
Boss Fight: The final challenge is defeating the boss, Gorm’gant, who has a significant health bar and is accompanied by waves of undead. The fight is chaotic and requires constant movement and teamwork to manage effectively.
-
Additional Threats: Players must also contend with floating aether spheres that can cause damage if not addressed promptly.
What are the key challenges when fighting Gorm’gant
Fighting Gorm’gant in Call of Duty: Modern Warfare 3 Zombies presents several key challenges:
-
Aggressive Attacks: Gorm’gant can unleash a powerful laser beam that can instantly down players, and it can also spawn Harvester Orbs that chase and attack players. These orbs must be destroyed quickly to avoid being overwhelmed.
-
Burrowing and Healing: Gorm’gant occasionally burrows underground, where it heals and can attack from beneath, potentially swallowing players. To counter this, players must use explosives like thermite grenades to force the worm back to the surface.
-
Environmental Hazards: The fight takes place in an open area, making it difficult to maintain cover. Players need to keep a safe distance and use the environment strategically to avoid Gorm’gant’s attacks.
-
Weak Points: Focusing on Gorm’gant’s glowing purple weak spots is crucial for dealing significant damage. However, these spots can be challenging to hit consistently, especially when the worm is moving or attacking.
-
Teamwork and Preparation: The fight is highly challenging without proper preparation and teamwork. Players should ensure they have upgraded weapons, use Perk-A-Colas for advantages, and have a full squad for more chances at success.