Embark on a mystical journey in Elden Ring as you unravel the enigmatic quest of Sorceress Sellen. Nestled within the shadowy depths of the Waypoint Ruins, Sellen beckons aspiring sorcerers to delve into a world of powerful spells and dark choices. As you navigate treacherous landscapes and confront formidable foes like Starscourge Radahn, your allegiance will be tested between Sellen and her rival, Witch Hunter Jerren. Will you harness the arcane powers of the Glintstone or side with the hunter to claim your rewards? Prepare for a captivating adventure filled with betrayal, magic, and the pursuit of knowledge in the Lands Between.
Location
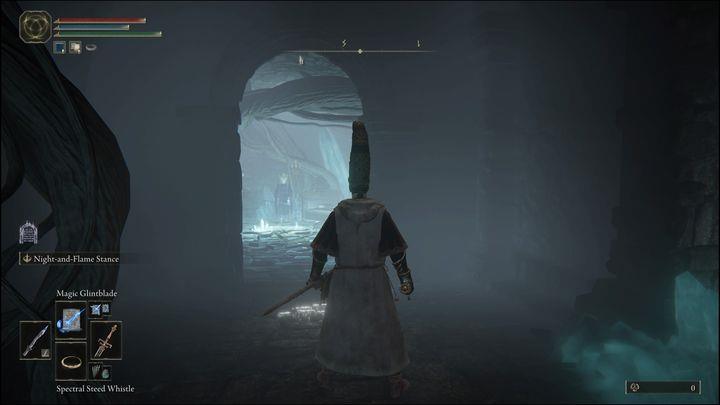
Sorceress Sellen can be found in the Waypoint Ruins Cellar, located in the Limgrave region of Elden Ring. To access her, players must first defeat the Mad Pumpkin Head boss guarding the entrance. After entering the cellar, Sellen offers to teach sorcery and initiates her questline. The quest takes players across various locations in the Lands Between, including Mt. Gelmir and the Witchbane Ruins in the Weeping Peninsula, where further interactions with Sellen and other characters unfold as part of her storyline.
Sorceress Sellen is in the eastern part of Limgrave. You can meet her in the Waypoint Ruins right after defeating the Mad Pumpkin Head boss. She is in the next room, right next to the treasure chest
After meeting Sellen, you will unlock access to magic services in the form of spells that you can buy with runes. You can offer magic scrolls to Sorceress Sellen, which will expand her offer with new spells. Here you can see her full range of available spells:
- Glintstone Pebble
- Shard Spiral
- Glintstone Stars
- Glintstone Arc
- Crystal Barrage
- Scholar’s Blade
- Scholar’s Shield
- Greatblade Phalanx
- Great Glintstone Shard
- Swift Glintstone Shard
- Glintstone Cometshard
- Star Shower
- Carian Slicer
How to proceed with the quest?
To proceed with Sorceress Sellen’s quest in Elden Ring, players must first locate her in the Waypoint Ruins Cellar, where she offers to teach sorcery after defeating the Mad Pumpkin Head boss. The quest unfolds through a series of steps, including retrieving the powerful Comet Azur sorcery from Primeval Sorcerer Azur in Mt. Gelmir and then returning to Sellen. Players will need to find Master Lusat in the Sellia Hideaway and defeat Starscourge Radahn at Redmane Castle to advance further. After these tasks, players will interact with Sellen at various locations, culminating in a critical choice at the Raya Lucaria Grand Library: whether to assist Sellen or Witch Hunter Jerren, each option leading to different rewards and outcomes in the storyline.
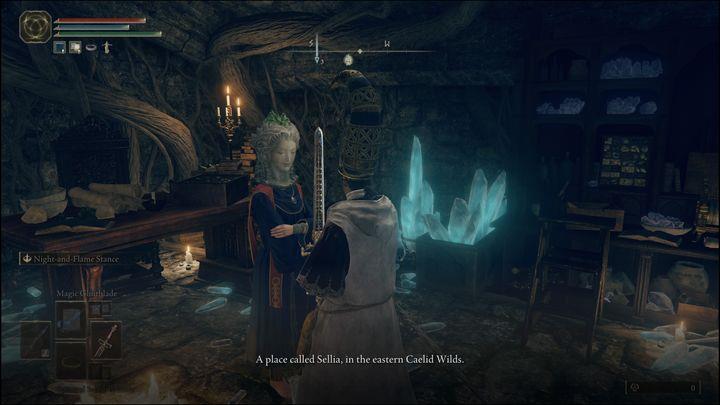
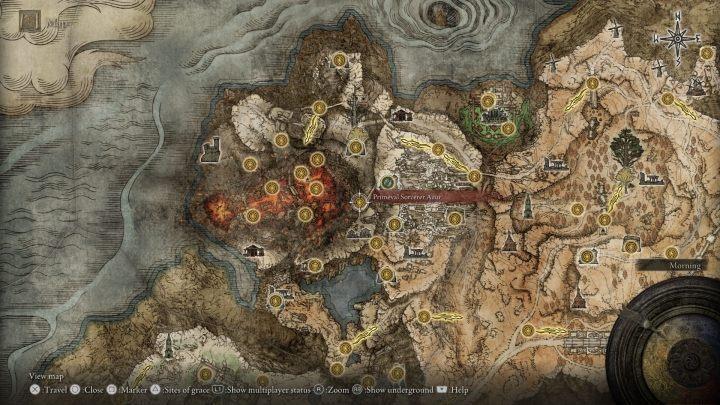
Sorceress Sellen will introduce herself first, and then she will offer you to learn under her supervision. If you accept the proposal, you will start a series of tasks related to it. Now, you have to meet Primeval Sorcerer Azur. You will find him later in the game near the Hermit Village, located south of the Volcano Manor. You will get to this location by walking around the volcano.
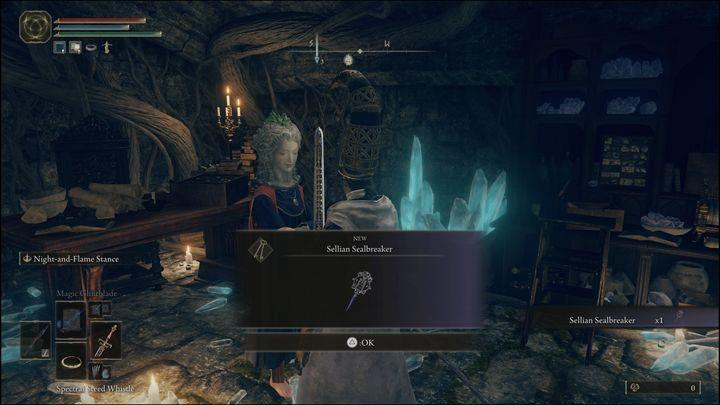
After meeting Azur, you must return to Sorceress Sellen. You will then be given a new task to find Master Lusat. Sellen will give you a special seal breaking item. It’s required to get to the Master Lusat’s location.
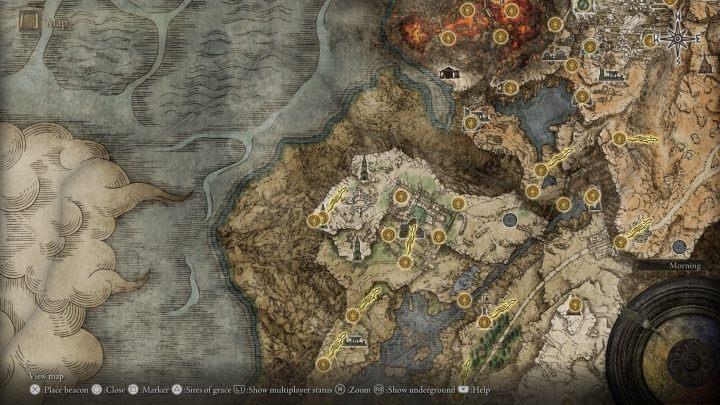
The sorcerer is in a hidden cave called the Sellia Hideaway. The fastest way to get to this location is from the Fort Faroth site of grace. Head south towards the big white stone and jump down, then head to the graveyard near the Church of the Plague. The entrance to the cave is behind the illusory wall just behind the largest of the tombstones. You have to hit it for the illusion to vanish and reveal the passage.
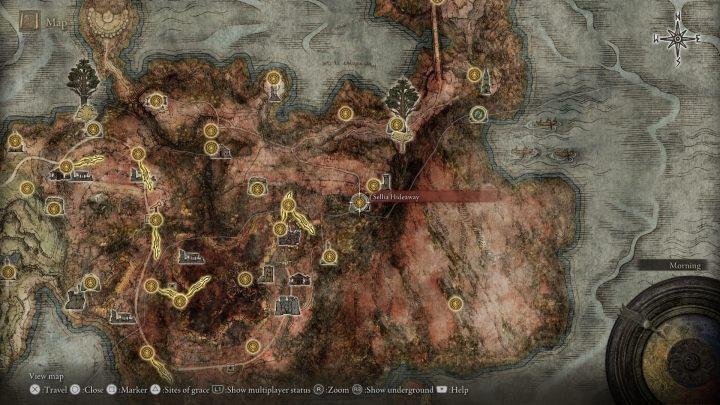
There is another hidden wall in the cave. Hit it and pass through. Keep going until you reach the passage down by the second cave. There you will come across a magic seal, which you will break with the item obtained from Sellen – you just need to interact with it.
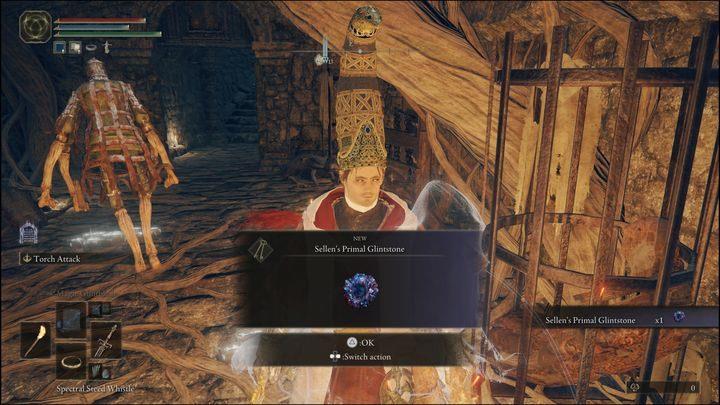
After talking with Master Lusat, the next stage of the quest will unlock when you defeat the Starscourge Radahn boss. Then you can return to Sorceress Sellen. She will reveal that she is an illusion, and her real body is on the Weeping Peninsula, or more precisely in the Witchbane Ruins to the west – slightly south of the Fourth Church of Marika site of grace.

Sellen of the Witchbane Ruins will give you Sellen’s Primal Glintstone and ask you to find a new body for her. Now you must head towards the northern regions of Liurnia of the Lakes, where three towers are located – Ranni’s Rise, Renna’s Rise and Seluvis’s Rise.
The ruins with stairs under the floor are between Ranni’s Rise and Renna’s Rise. You have to roll or hit the stairs with your weapon to reveal the passage.
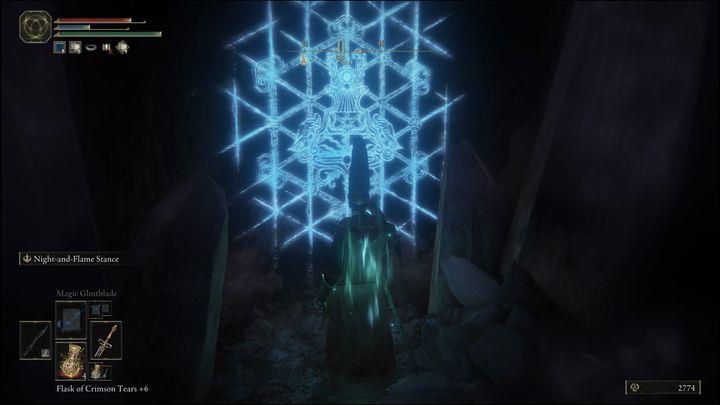
Inside you will find a basement with another hidden wall. It covers a room with a body where you have to place Sellen’s Primal Glintstone.
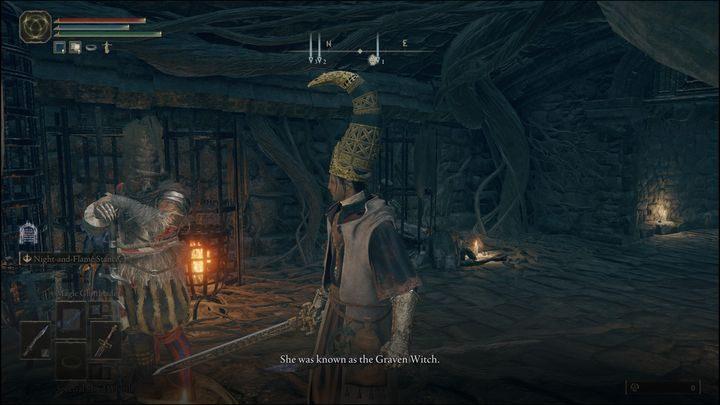
Now you need to return to the Witchbane Ruins. Go back to where Sellen’s real body was. You should meet Witch-Hunter Jerren there. Talk to him until you hear all he has to say. If for some reason Jerren did not appear, then you must go to Redane Castle in Caelid and talk to him there.
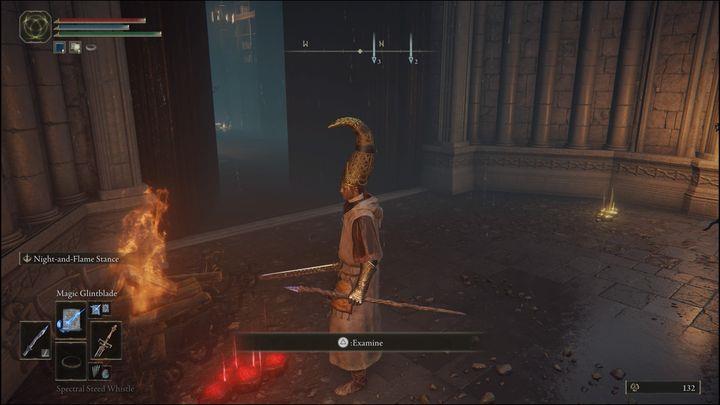
It’s time for the final part of the mission. You can now go to the site of grace called Raya Lucaria Grand Library. This is where you fought the boss Rennala, Queen of the Full Moon. Exit the hall through the main entrance. There will be two summoning marks on the ground – Sorceresses Sellen’s and Jerren’s. You can decide whose side you want to take and with whom you will fight.
Rewards for completing the quest
Completing Sorceress Sellen’s quest in Elden Ring offers players a variety of valuable rewards that enhance their sorcery capabilities and overall gameplay experience. Key rewards include powerful spells such as Comet Azur and Stars of Ruin, which are essential for sorcerers looking to maximize their damage output against formidable foes. Additionally, players can acquire unique items like Sellen’s Primal Glintstone and the Witch’s Glintstone Crown, which not only serve as aesthetic upgrades but also provide gameplay benefits. Depending on the choices made during the quest, players may also receive the Eccentric Set or other exclusive gear, making this quest a rewarding endeavor for those who choose to delve into its complexities.
If you remain loyal to Sorceress Sellen, you will be transferred to the location to defeat Jerren. After winning the fight, you will receive the Eccentric Armor set that Jerren wore. Additionally, Sellen will give you the Glintstone Kris, and her offer will expand with the Shard Spiral spell.
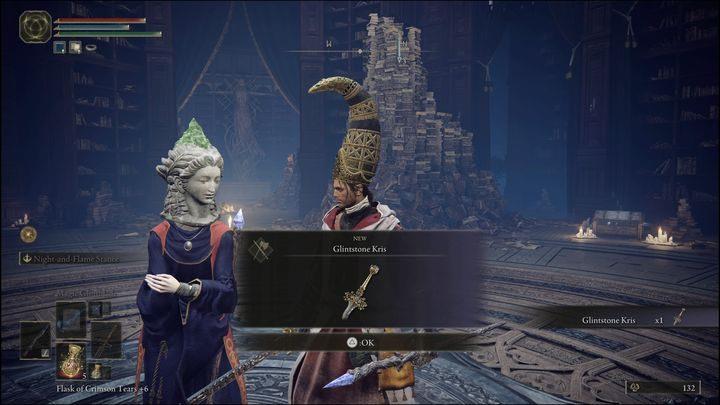
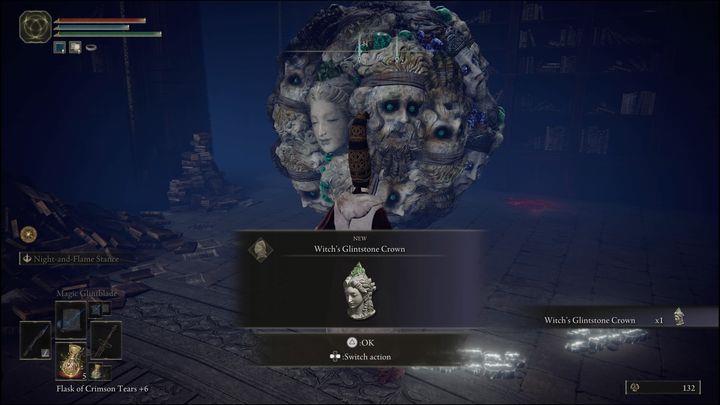
If you rest at the site of grace and return to the Raya Luccaria Grand Library, you will see that Sorceress Sellen has transformed. Now there is a helmet next to her – the Witch’s Glintstone Crown, which you can pick up.
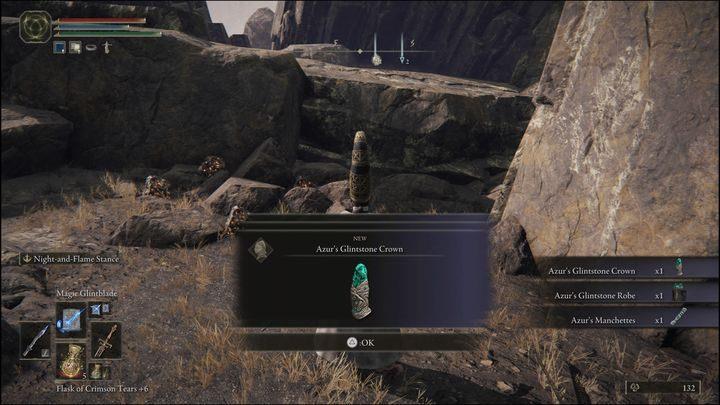
You can now go to the location where the Primeval Sorcerer Azur was to pick up his Glintstone Armor set. The same goes for Master Lusat, who also left his armor in the Sellia Hideaway.
If you decide to fight Sellen and side with Jerren, then after defeating the sorceress, you will receive the Witch’s Glintstone Crown and Sellen’s Bell Bearing. You can give the bell to the Twin Maiden Husks at the Roundtable Hold. Thanks to it, you will still be able to buy spells offered by Sorceress Sellen. After winning the fight, Jerren will give you the Somber Ancient Dragon Smithing Stone. This is a blacksmith item required to upgrade special weapons to their highest level.
What are the best strategies to defeat Radahn
To defeat Starscourge Radahn in Elden Ring, players should employ a combination of mobility, strategic summoning, and effective attack timing. Here are the best strategies to ensure victory:
General Strategies
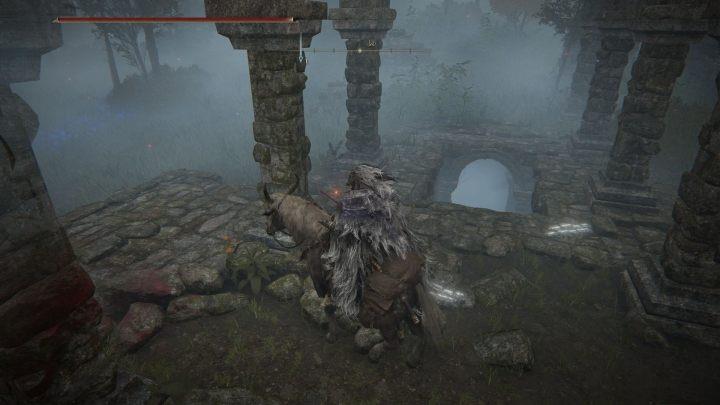
- Utilize Torrent: Riding Torrent allows for greater mobility, enabling you to dodge Radahn’s powerful attacks while summoning NPC allies to distract him. This strategy helps create openings for safe hits.
- Summon Allies: Engage NPC summons at the start of the fight to draw Radahn’s aggro. This is crucial as it allows you to focus on dodging and attacking without being the primary target.
- Stay Agile: Constantly move and avoid staying in one spot for too long. Radahn’s attacks can deal massive damage or result in instant death if you get caught.
Phase One Tactics
- Dodge Arrows: At the beginning, Radahn will shoot gravity-infused arrows. Roll or strafe to avoid these attacks while keeping an eye on his movements to time your dodges effectively.
- Attack When Safe: Once your allies engage him, take the opportunity to land a few hits when it’s safe, then retreat to avoid his counterattacks.
Phase Two Adjustments
- Watch for Meteor Attacks: In the second phase, Radahn will summon meteors that can be devastating. Look for the bright flash that indicates their imminent strike and seek cover behind terrain or ride away to avoid damage.
- Maintain Distance: Continue using Torrent to keep distance from Radahn, especially during his more powerful attacks. This will allow you to heal and regroup if necessary.
- Inflict Status Effects: If using melee attacks, consider weapons that can inflict Bleed or Frostbite, as Radahn is vulnerable to these effects. Build up these status ailments to chip away at his health effectively.
By combining these strategies—mobility with Torrent, effective use of NPC summons, and careful timing of attacks—you can overcome one of Elden Ring’s most formidable bosses and emerge victorious against Starscourge Radahn.
What are the best weapons to use against Radahn
To effectively defeat Starscourge Radahn in Elden Ring, selecting the right weapons is crucial. Here are some of the best weapon choices that can maximize damage output and exploit Radahn’s weaknesses:
Top Weapons Against Radahn
-
Rakshasa Great Katana
- This weapon excels in damage and speed, making it a top choice for punishing Radahn. Its ability to inflict bleed damage allows for quick health depletion, especially when paired with a mimic summon to increase pressure on Radahn 1.
-
Black Steel Twinblades
- Known for their rapid attack speed and high bleed potential, these twinblades can deliver significant damage while allowing players to maintain agility during the fight. Their fast combos make them ideal for dodging and striking 1.
-
Black Steel Great Hammer
- This weapon not only deals substantial damage but also has bleed capabilities that can stagger Radahn, creating openings for additional attacks. Its heavy hits are particularly effective against his defenses 1.
-
Claw Weapons
- The fast-paced attack style of claw weapons allows players to build up bleed quickly while maintaining mobility. They can also be used at range by throwing needles, providing versatility in combat 1.
-
Fire Knight Greatsword
- With its flame affinity and the ability to use powerful Ashes of War like Flame Spear, this sword can deal consistent damage while breaking Radahn’s stance multiple times throughout the fight 1.
-
Sword Land Put
- Featuring a bleed affinity and the “Piercing Fang” Ash of War, this weapon allows players to engage safely from a distance while still dealing significant damage 1.
Additional Tips
- Upgrade Your Weapons: Ensure your chosen weapon is upgraded to maximize its effectiveness against Radahn.
- Utilize Summons: Pairing your weapon choice with NPC summons can distract Radahn, allowing you to land more hits safely.
- Focus on Bleed Damage: Weapons that inflict bleed are particularly effective against Radahn due to his large health pool.
By using these weapons strategically and maintaining agility during the fight, players can enhance their chances of defeating Starscourge Radahn successfully.